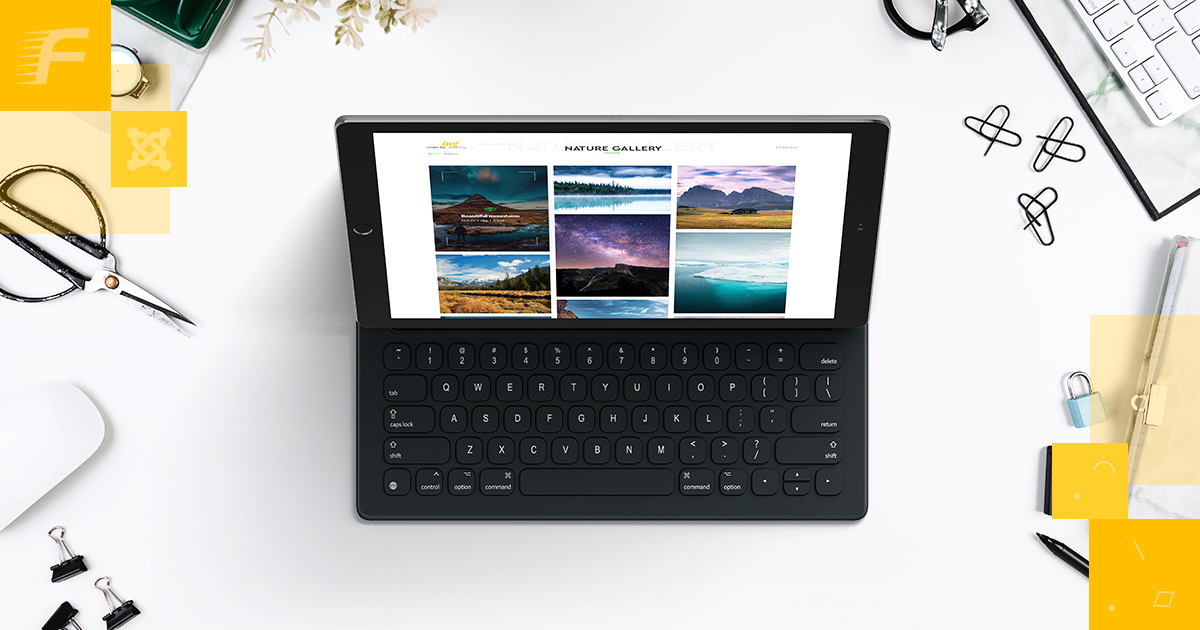
How to set up a gallery on Joomla! 3.8.11
It is not enough to download and install a gallery extension in order to add it on your website. You should configure its appearance and functionality. We prepared a step-by-step tutorial on how to set up a gallery on Joomla! 3.8.11 based on FW Grand Gallery extension. It has all necessary features to cover all possible needs on this topic.
Installation
After you downloaded a file, you should log into your Joomla website admin panel. In main menu go to Extensions => Manage => Install and upload a gallery file pkg_grandgallery_v.x.x.x_JUST_INSTALL.zip.

In order to go to Gallery Configuration you should go to Components => FW Grand Gallery => Configuration in admin panel. Enable settings editing by clicking Edit button in top submenu.

Most of the settings in FW Grand Gallery can be done by selecting one of the options by selecting out of existing values. You won’t have to write bits of code or install additional modules.
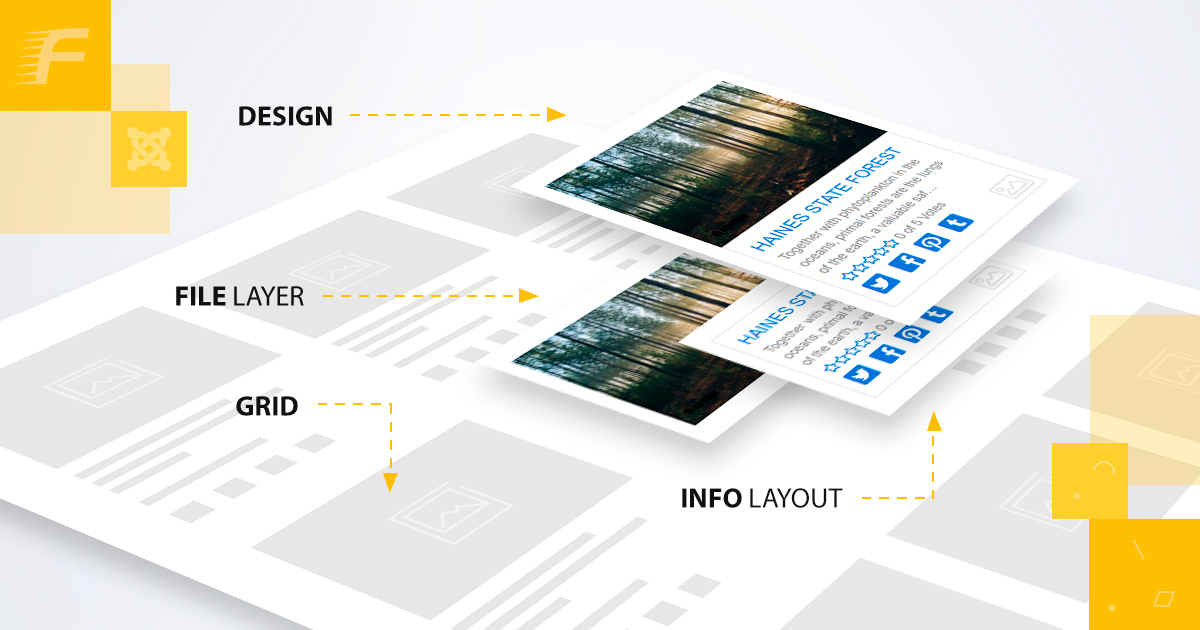
Layout
On a page grid you can select a number of galleries in a row and number of rows shown. These settings can be different for sub-galleries. Further you can set an ordering for galleries which will show by ordering by default or can be ordered by alphabet or a publication date. Similar settings can be configured for images and videos in galleries.

The last setting in layout parameter is a pagination type.
Ajax load more option allows to load images without page reload and looks like this:

Standard option is a native joomla pagination which reloads pages while navigating:

Content settings
On Configuration page you can select which information will be shown for a gallery and what will be hidden: name, author, date, description, copyright, tags and etc.
Also you can define if social sharing buttons are visible for visitors so they can share images on their profiles or allow images download.

You can activate image voting by selecting respective parameter. You can set a voting type as hearts, arrows or stars and set if non-registered users can vote.

Images size control
In FW Grand Gallery you can downsize images without quality loss. This helps to load pages with images faster.
Visitors are often impatient and want to see a page in fractions of a second. If you want to post high quality images and provide fast page load at the same time you should use “Custom size” function.
Originals will be stored on your server, that’s why you will be able to change images size at any time increasing or decreasing images size without exceeding original dimensions.
In “Custom size” parameters you can set 2 sizes:
- Large size will be used for a popup/lightbox/dropdown image preview in listings or a single image view.
- Medium size is used for listing images preview.

An image size is set by the largest dimension and gets downsized keeping actual ratio. For example if you need 1200х800 px as large image you should set 1200 and the other dimension will be calculated based on ratio.
If you want to protect your images from copying you can select in settings “Use Watermark” option. Now all your images will have watermark picture (if you upload it) or a text watermark depending on settings you make.

Comments
FW Grand Gallery comes with an integrated DISQUS commenting system. If you want to enable image commenting option in a gallery you should follow these steps.
- Register on a Disqus website https://disqus.com.
- Select “I want to install disqus on my site”

- Create a new site in your profile.

- Select Joomla as your website platform.

- In Joomla install instructions section copy a shortname from point #5.

- In Joomla admin panel go to Components => FW Grand Gallery => Configuration and click Edit on top. Choose Disqus as a commenting system and enter your short name into respective text field.

Right after settings are saved visitors will be able to comment images. Now images will have a comment section that would look this way:

All types of image preview are turned on in a gallery by default. Depending on your website needs and design preferences you can disable some of them.

You can disable “magnifier” button in a top right of the image that shows original image in a lightbox, hide “View Image” button that opens single image page or hide dropdown image info with a bigger picture and details shown on click.

Images import
If you have EXIF PHP extension installed on your server (shows on a check-list on Configuration page) all uploaded images will be stored with meta information. Meta information has data about camera and its settings when picture was made, date, GEO tag, or any other meta comments that were added to an image when it was processed in a photo editor.
In case GEO tags is an important assets of galleries on your website you may want to show a map with images location exactly where they were made. The only parameter needed is a Google Map Key (can be obtained here) set in gallery configuration. Then you can set Map Module in any position and have a map showing images in different parts of the world.

In Plugins section you can set Facebook or Picasa account synchronization to import images into galleries.

Enter your Picasa account name into respective field, select an album you want to import and a gallery on your website to copy images into.
Facebook import is more complicated. Detailed instruction can be a separate post on this topic and can be found in FW Gallery documentation available in download section.
Congratulations!
They are all settings you need to have a working gallery on your website.
You can download a free gallery version FW Gallery Light to try it out or get a full featured FW Grand Gallery, described above.