
FW Food Menu
Online food ordering system with payment and delivery options. Responsive menu with meals promo and add-ons, individual category/sub-category design and layout settings for café, bars and restaurants.
Product Features

More features
Add-ons
Free add-ons can be installed via Admin -> Add-ons section on your website. To get access to paid add-ons, you need ANY active subscription, that will grant access to ALL paid add-ons.

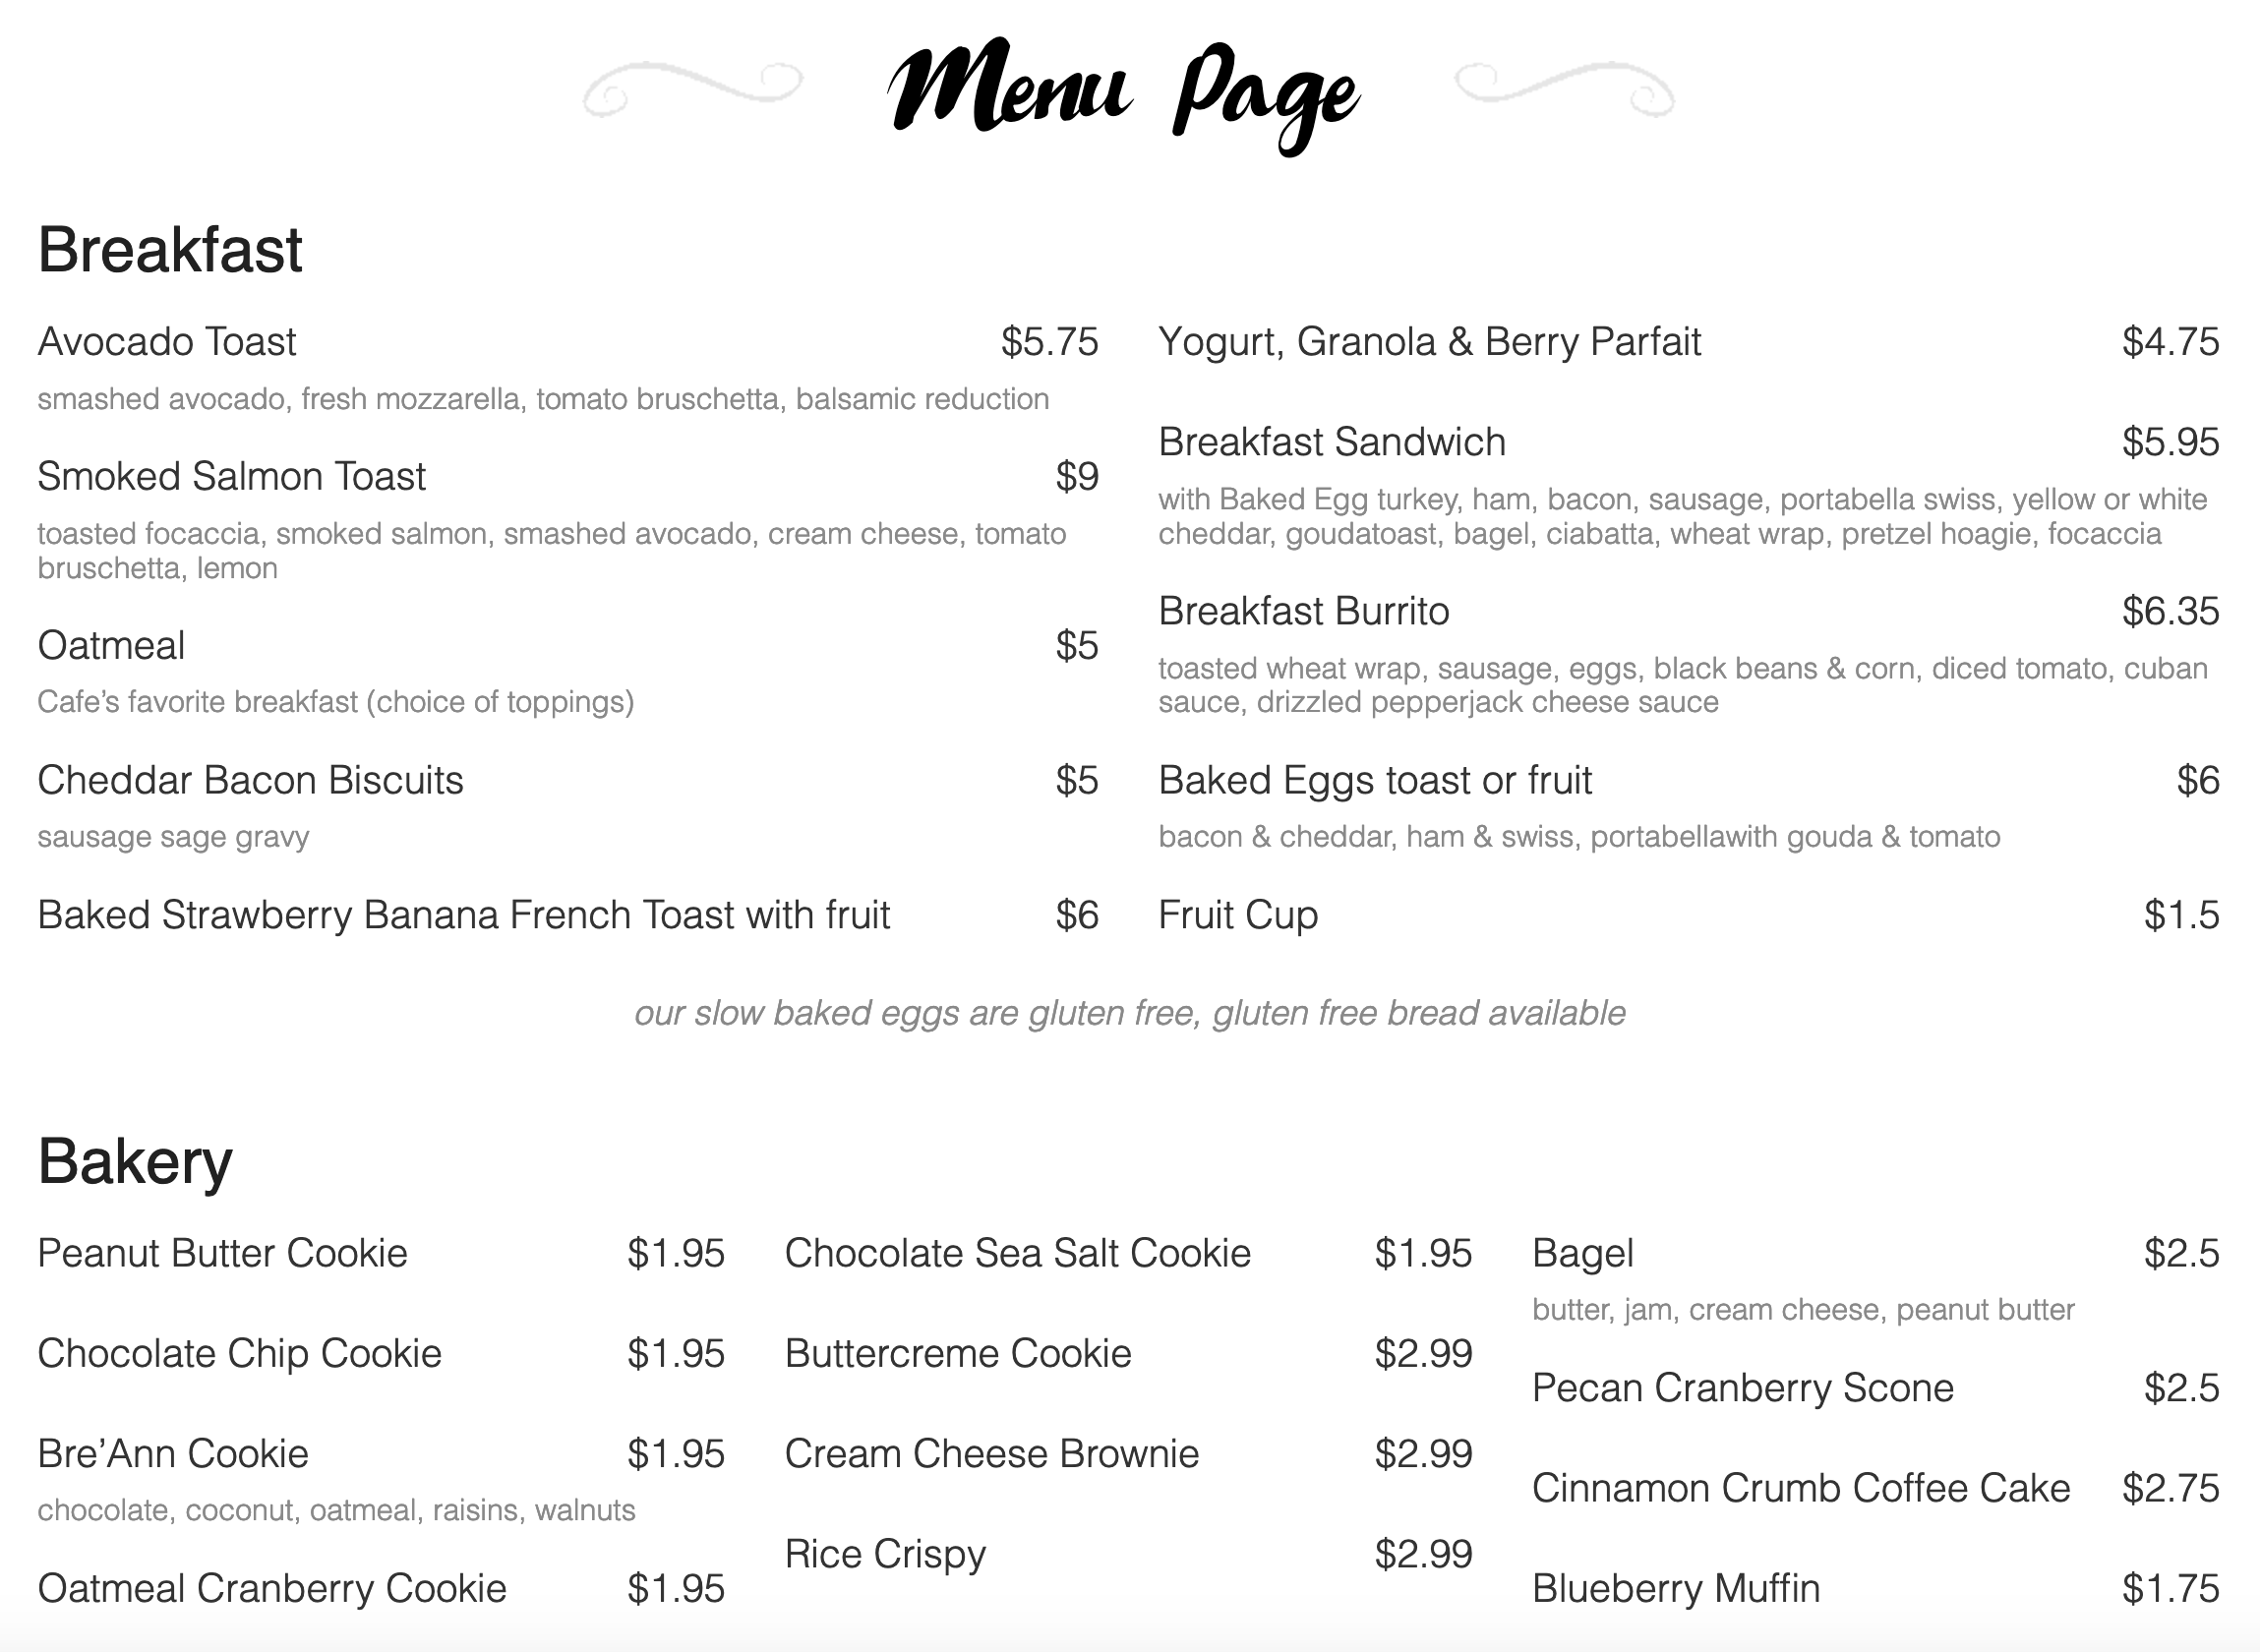
Text Menu inspired design with classic palette colors and font that helps to create the right atmosphere for a small cozy café or a pub.

Offer your visitors to order food at the table from their mobiles, navigating your online food menu. Let them pay with credit cards at the table. Generate QR-codes to mark your tables and you are good to go.
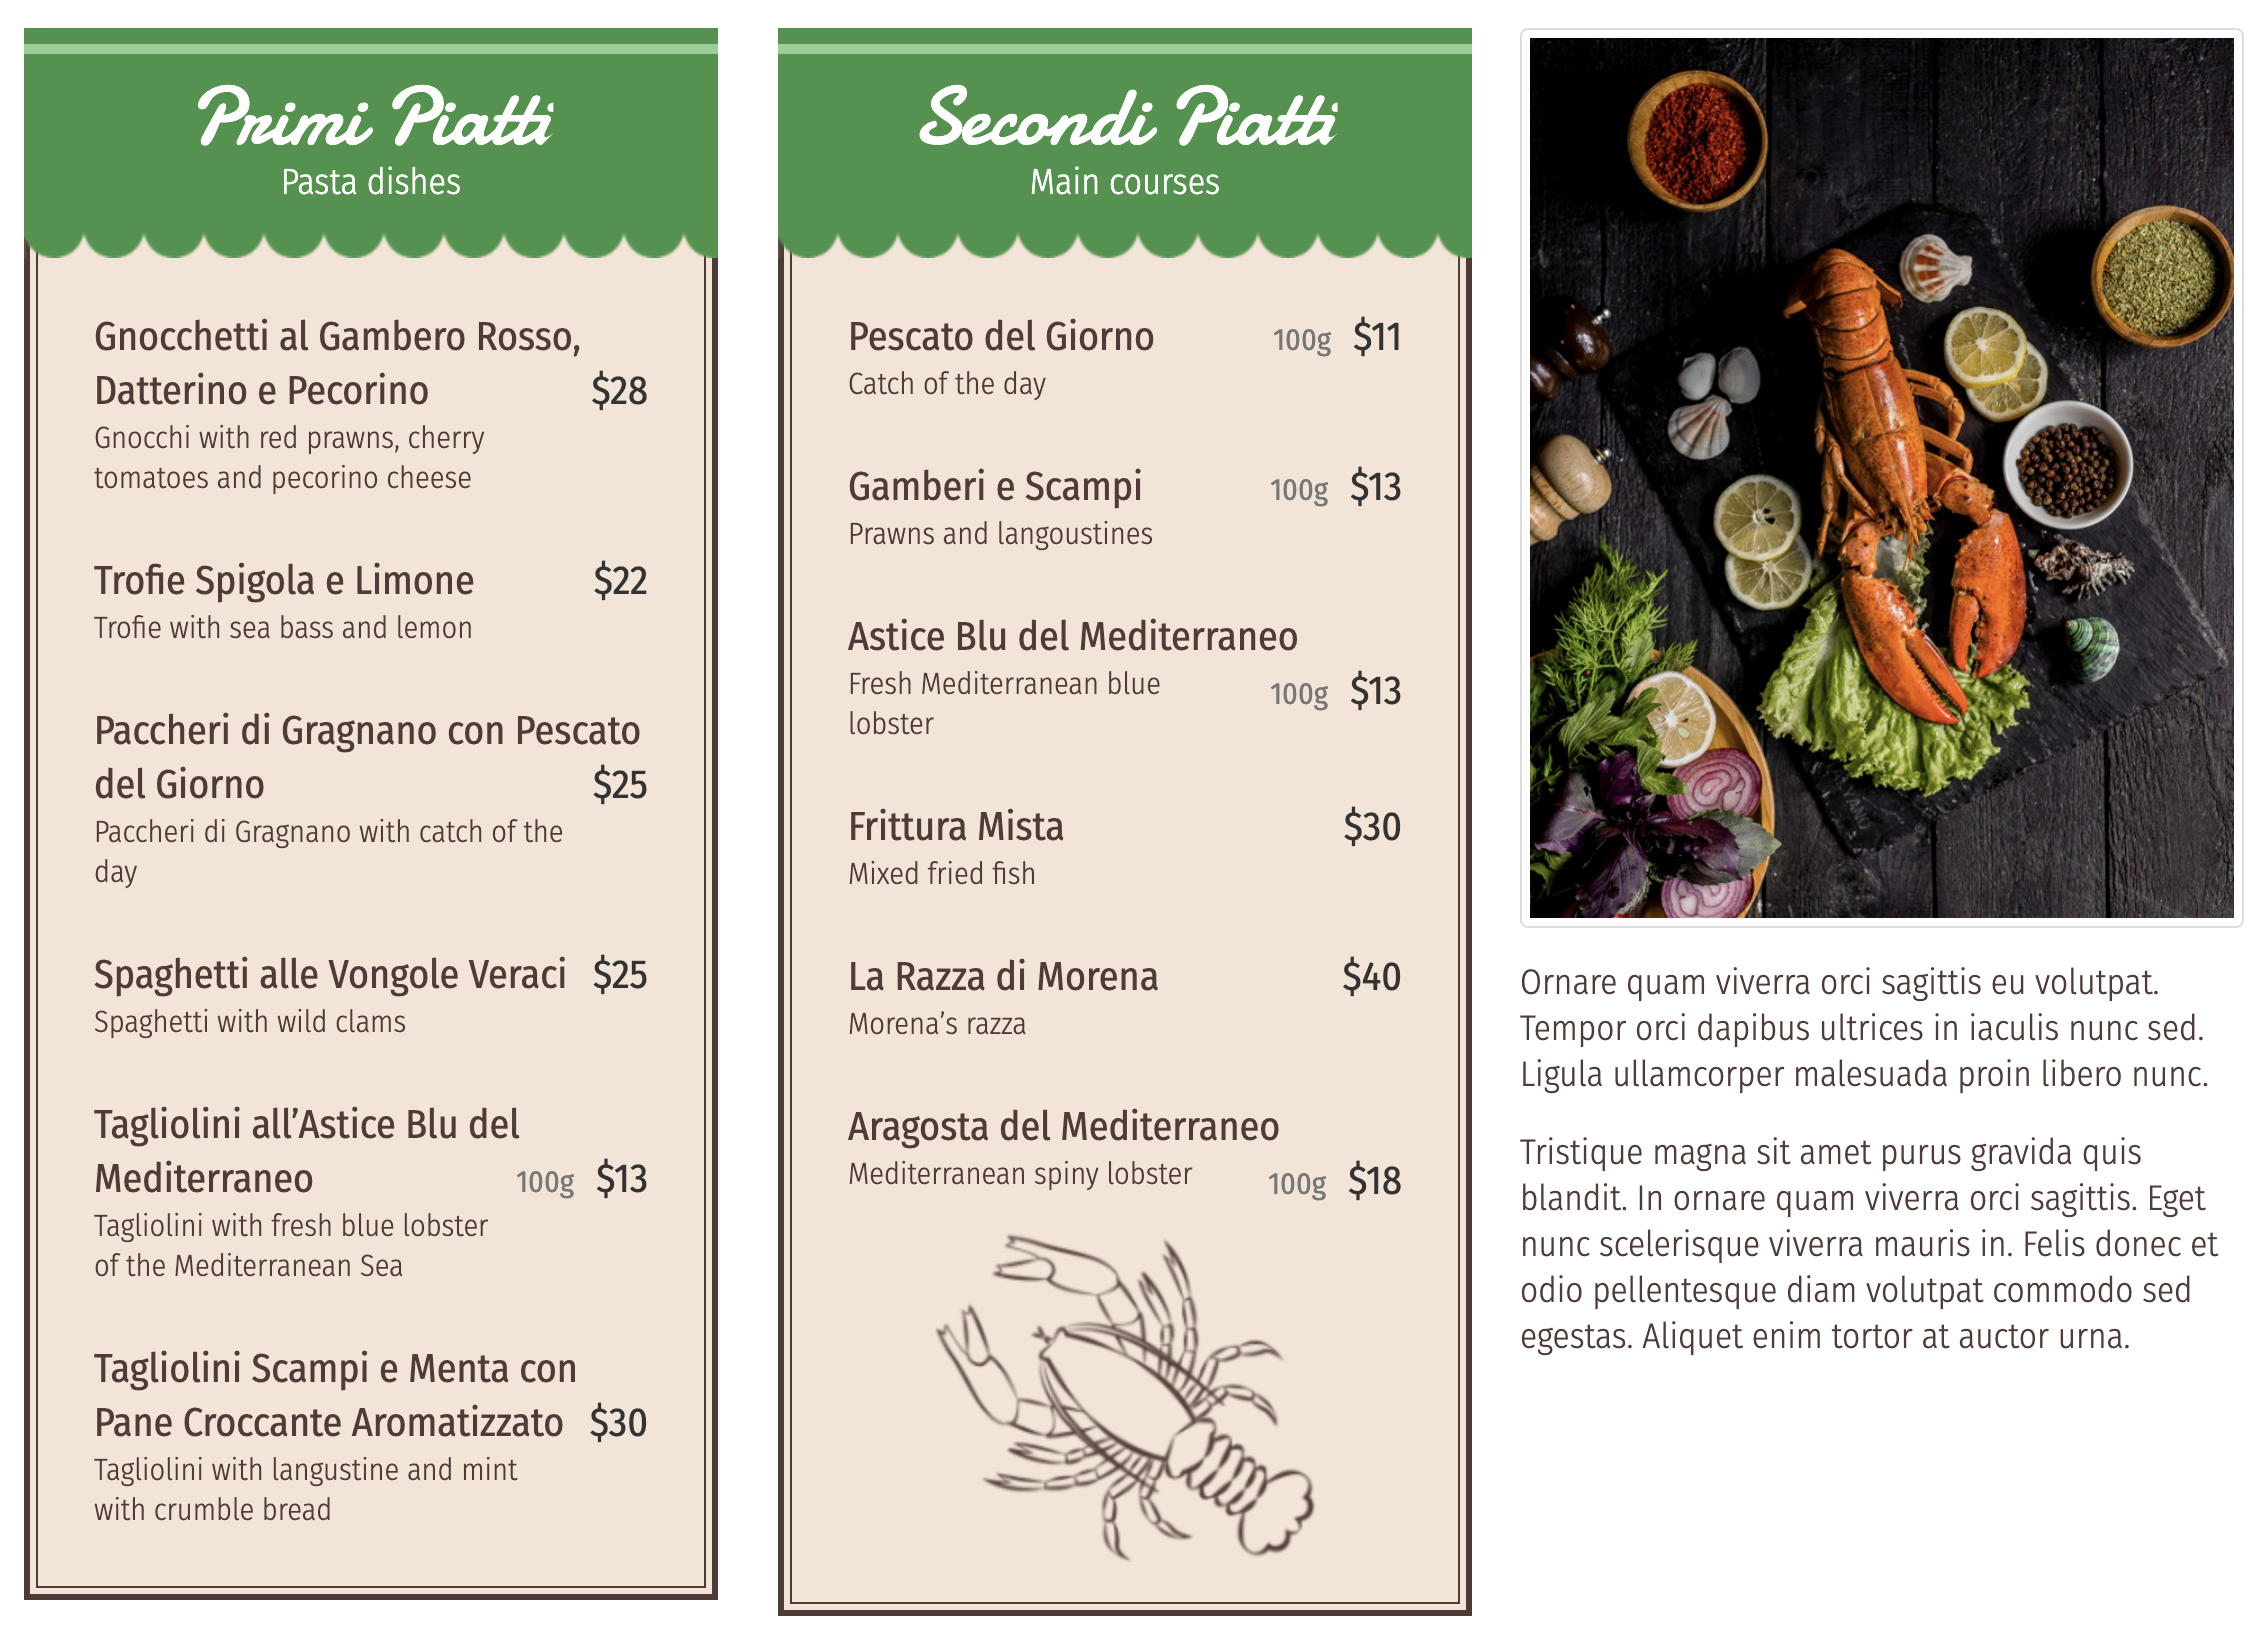
Online Order Menu responsive design, created specifically for websites that have extended menu description with online ordering.

Adds Columns option for Categoris layout allowing wrapping meals and subcategories into columns. Different number of columns can be configured for different categories or can be set to Default inheriting global Settings.

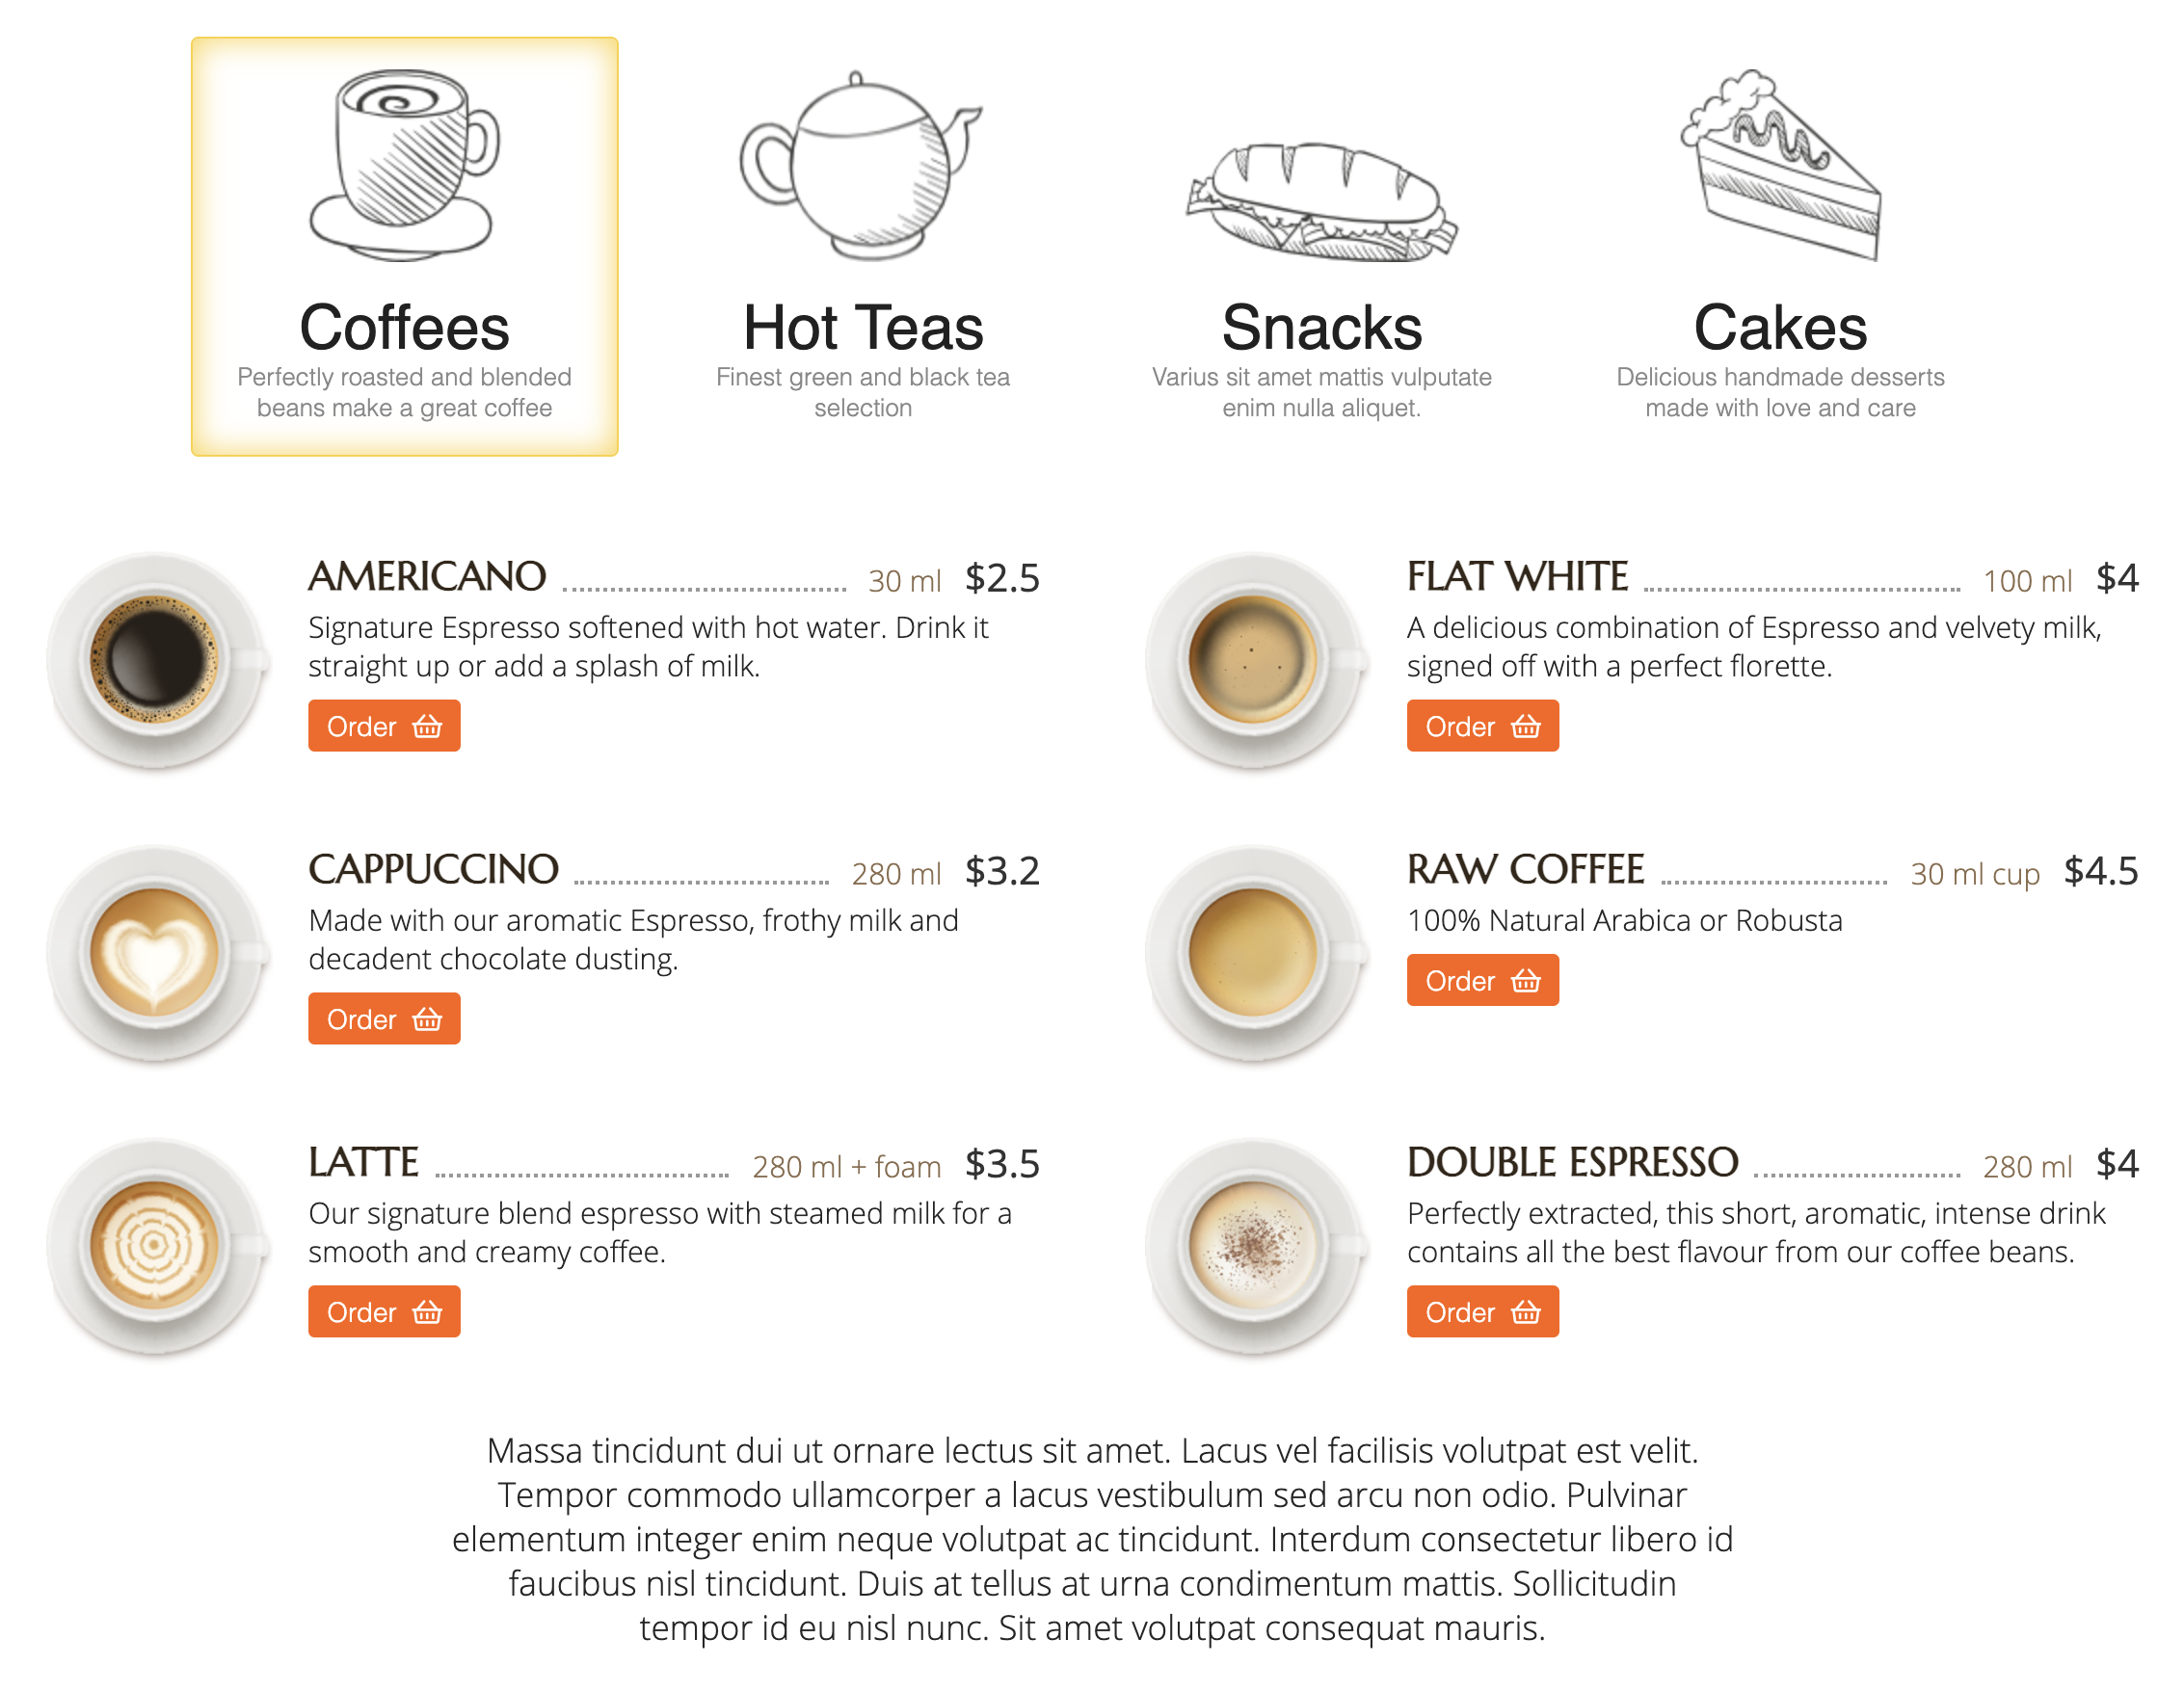
The best way to show menu on a single page. Selecting any categories you want to show on a page you will see them exactly the way they were designed. So if you need to show very different menu styles or if all categories are styled the same way Cascading Layout will help to show them in one place without reloading the whole page.

Allows multiprice options for one meal. Add different sizes of a meal or extras that may come with it. Optional and required option groups are allowed.
- Create pricing layers with labels, size and discounts.
- Create pricing groups in addition to the main price.
- Set extra pricing groups as optional or required.
- Live price calculation as a client selects meal options.
- In cart price options editing.

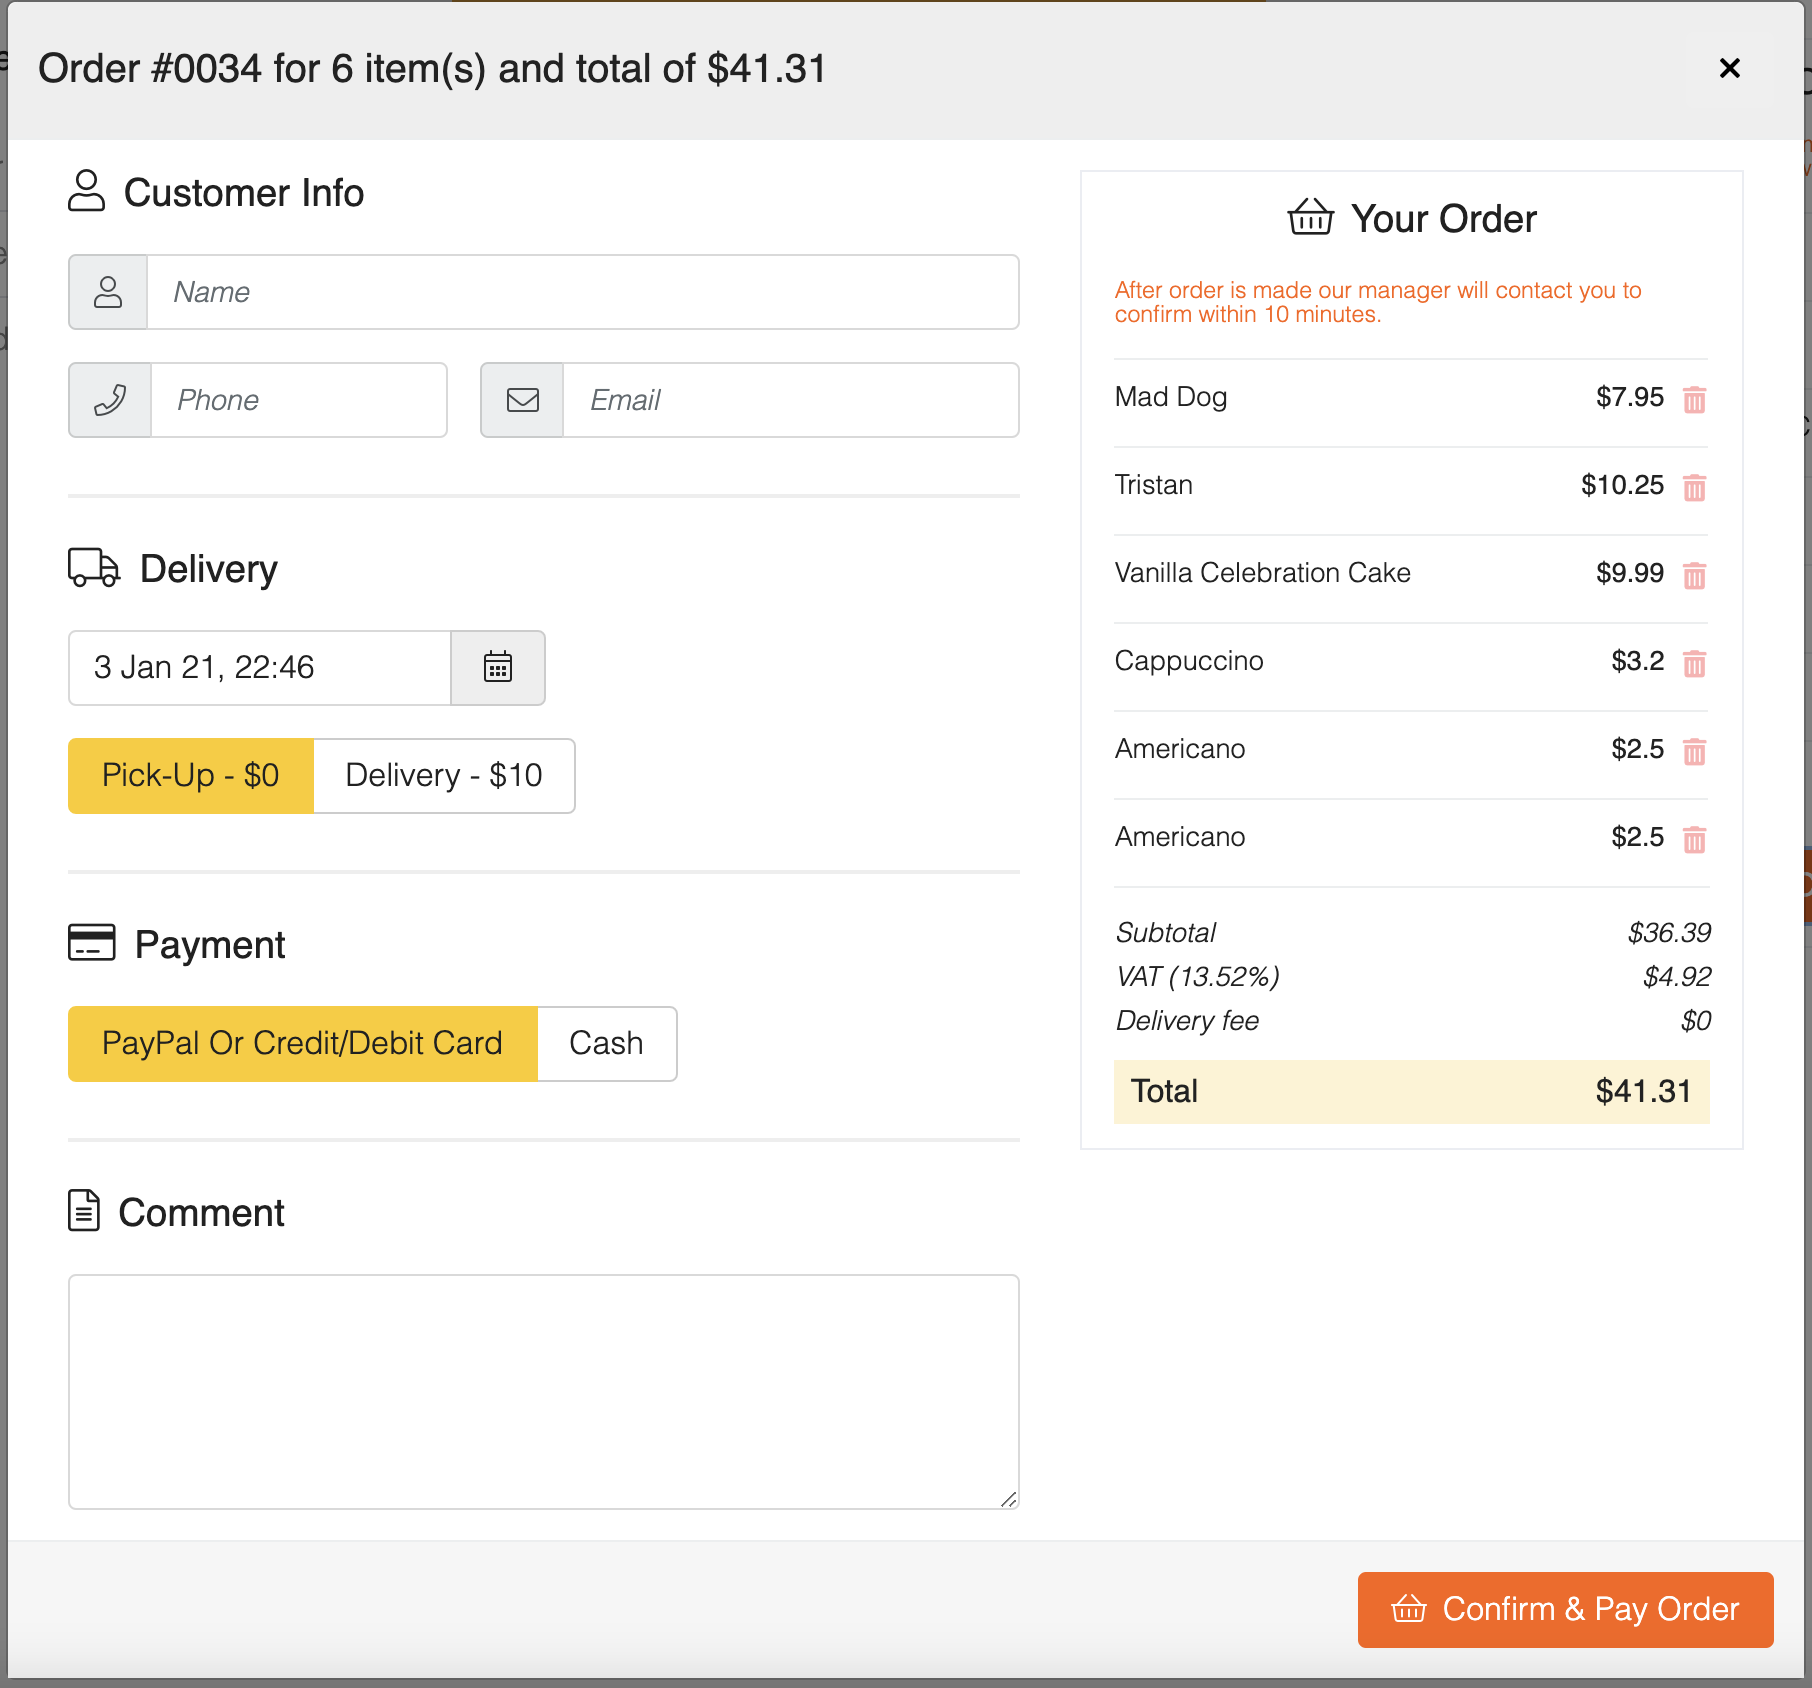
Get online order from your customers including portion pricing differences and quantity of items. Discounts also apply if you have them configured. All orders are stored at Orders section. Notification is sent via email.

Multilingual option for FW Food Menu. After add-on is installed and activated you will be able to select a language for every meal and category when editing information. A number of languages available is a number of languages installed on your Joomla! website.

Built upon Twilio service that allows to send text messages to mobiles and via WhatsApp when new order is made.

Adds Courier delivery in addition to Dine-in, Pre-order and Pickup delivery options in FWFM Order Online add-on. You can set delivery zones by distance from a restaurant or café with individual fees and minimal order amount.

Adds images to meals listing with option to show them on to the left, right, top or hide. Having images for the category it would add a nice slide show of meals in Category List view when hovering a category. Also adds an image to category title with top/left/right option. Often category image to use group of meals listed in it.

Activates Badges section in FW Food Menu admin and allows adding custom badges with text or svg/png/jpg icons and title available as a hint when selected for a meal.

Adds an ability to list meal ingredients and point out allergens among them, or mark allergens separately.

Adds 5 parameters to every meal description of energy, protein, fat, saturated fat and carbs shown in a nicely designed popup.

Adds Google Structured data to a page code for robots to index all important part of a menu. Also allows meta tags like description and keywords to be added to each category.
Structured Data code to enriches Food Menu meals markup with tags for search bots to read data and present it in the search results. Structured data is a standardized format to mark up the information about the web page. It serves to search engines like Google, Bing and others to better understand what the web page is about.

Adds a section to set working hours for a restaurant or a café. This info is used for FWFM Working Hours module to show live Open/Closed status 24/7, based on working hours information.

Shows current day of week and Open/Closed status for a restaurant or cafe 24/7, based on working hours set in FWFM Time & Hours add-on.
Services
Languages
Subscription Plans
After subscription expires, the product and all its add-ons remain functional and can be used further.
-
Update period6 mo
-
Update limit3 sites
-
Lifetime usage
-
Add-ons16
-
Technical Support
-
Update period6 mo
-
Update limit6 sites
-
Lifetime usage
-
Add-ons16
-
Technical Support
-
Update period12 mo
-
Update limit9 sites
-
Lifetime usage
-
Add-ons16
-
Technical Support