To display a product you need to create a menu item and assign VirtueMart Product Details Layout.
Make sure to understand that to display a category with products you need to assign FW VM Category Layout.
-
Log into your Joomla administrator panel using your credentials.
-
Locate Menus dropdown in the top menu of your Joomla control panel and click on it.
-
Choose User Menu=>Add New Menu Item from the list.

-
Locate Details tab.
-
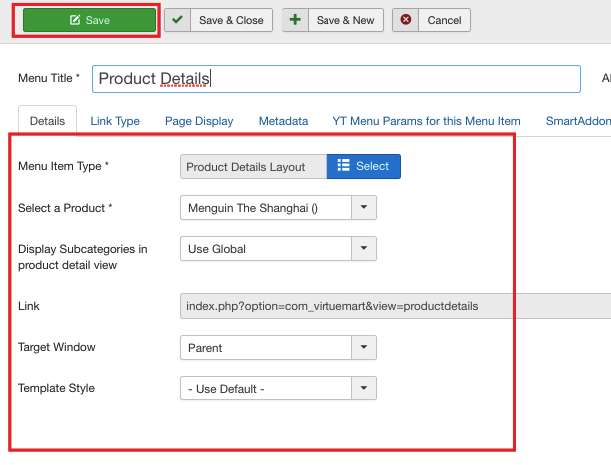
Locate Title textbox and enter Product Details into it.
-
Locate Menu Item Type field and click Select.
-
Mouse over VirtueMart dropdown and select Product Details Layout from the list. Once selected, the details tab display changes, see the screenshot below:
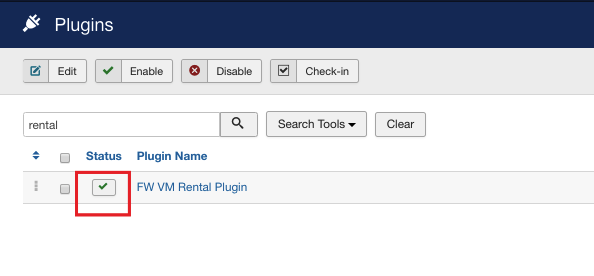
Now, let's activate FW VM Rental plugin.
-
Locate Extensions dropdown in the top menu of your Joomla control panel and choose Plugins from the list.
-
Find FW VM Rental plugin using the search area.
-
Enable the plugin if it is needed.
Now, let's activate VM Product plugin. VM Product plugin allows to display a product on your e-commerce Joomla website. To enable VM Product plugin, do the following:
- Find VM Product plugin using the search area and enable it if it is needed.
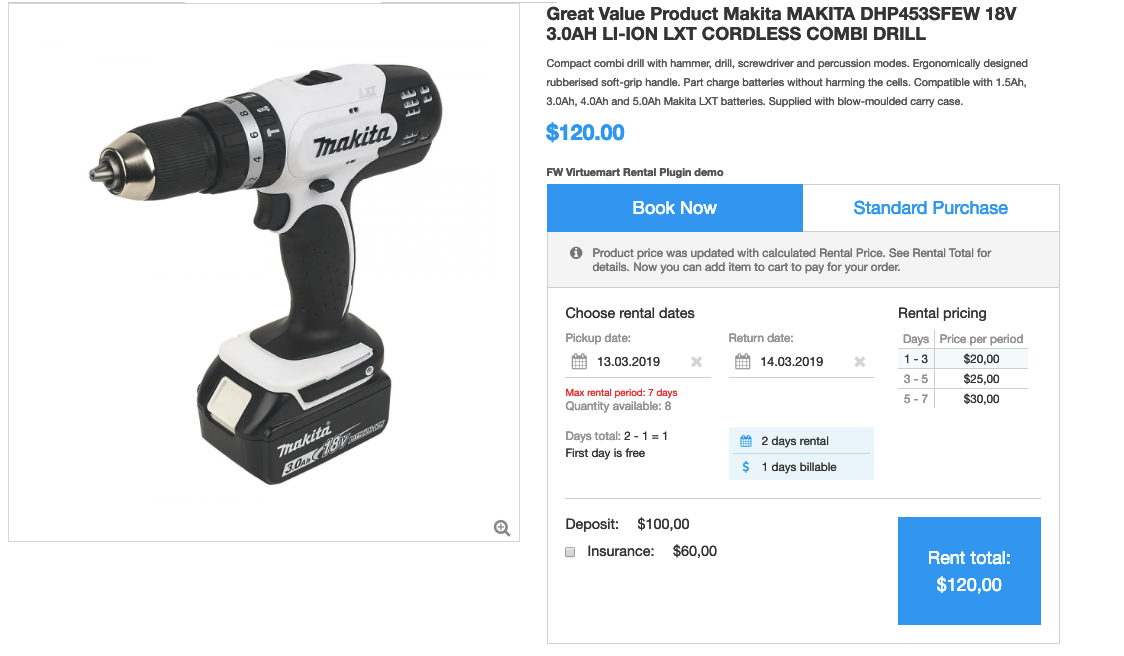
Once both plugins are activated, go to the front-end to see how the product is displayed. Your screen should look similar to the screenshot below.
 FW Gallery
 FW Food Menu
 FW Virtuemart Rental
 FW Real Estate