First, let’s enable FW Real Estate Slideshow module.
-
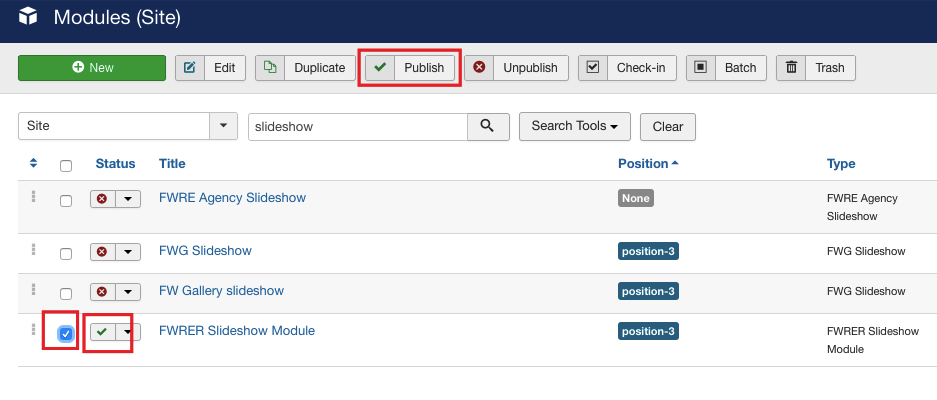
Locate Modules section following Extensions=>Modules direction.
-
Find FW Real Estate slideshow module using the search bar.
-
Enable it clicking the check button.

Now, let’s configure the module.
-
Click on the module title.
-
Locate Module tab and configure it. Assign position to the module and give it a title. Use the sample parameters listed in the FW Real Estate Slideshow module configuration and settings section of this tutorial. Your screen should look similar to the screenshot below.

-
Switch to the Menu Assignment tab.
-
Locate Module Assignment dropdown and select On all pages. Thus, the search will be displayed on all pages of your website.
-
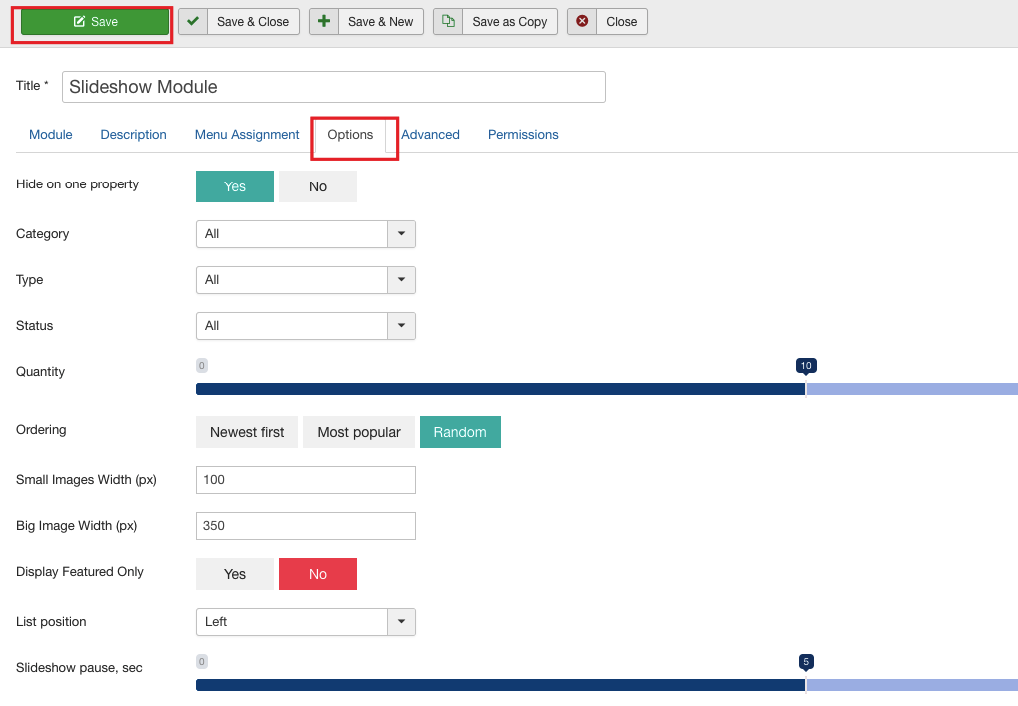
Switch to the Options tab.
-
Locate Hide on one property and select Yes. As a result, the slideshow will not be displayed on a single property view.
-
Locate Category dropdown and select All. Thus, the images from all property categories will be displayed in the module.
-
Mouse over Type and select All. Thus, all property types will be displayed in the module.
-
Locate Status dropdown and select All. As a result, the properties with all statuses will be shown as a slideshow.
-
Mouse over Quantity slider control and set it as 10. Thus, 10 images will be shown as a slideshow.
-
Locate Ordering field and select Random.
-
Go to the Small Images Width (px) textbox and enter 100. You set a size for small images of the slideshow.

- Locate Big Image Width (px) textbox and enter 350. You set a size for big images of the slideshow.

-
Locate Display Featured Only and select No.
-
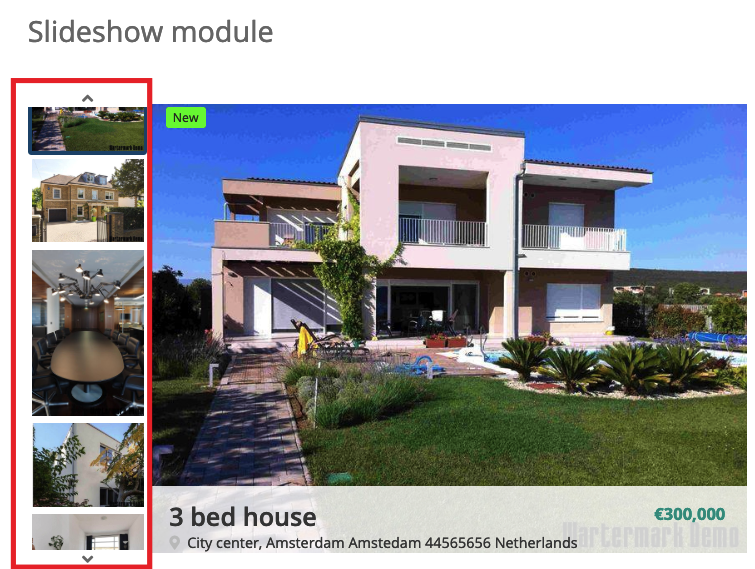
Locate List position and select Left. Thus, the list with small images will be displayed on the left from the big image.
-
Mouse over Slideshow pause, sec slider control and set it to 5. Thus, you set intervals between the images within the slideshow.
-
Click Save button. Your screen should look similar to the screenshot below.

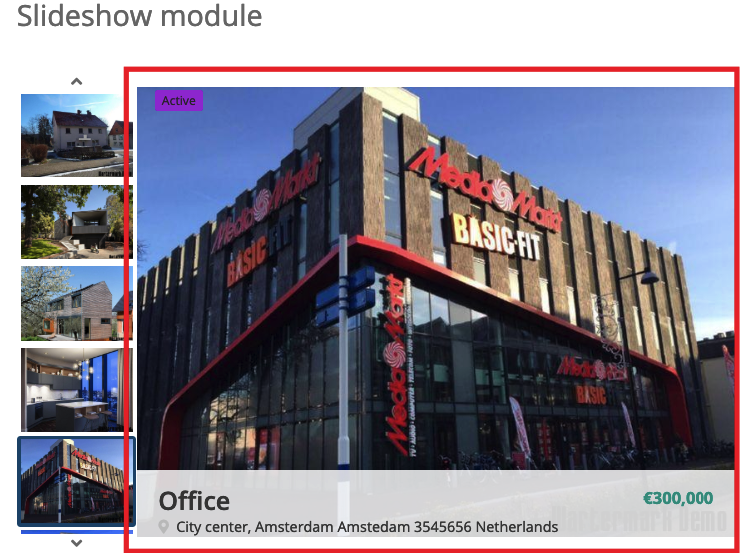
Once the settings are saved, go to the front-end to see how the module is displayed.
 FW Gallery
 FW Food Menu
 FW Virtuemart Rental
 FW Real Estate


