 FW Gallery – Documentation
Map Module
FW Gallery tutorial for Joomla!
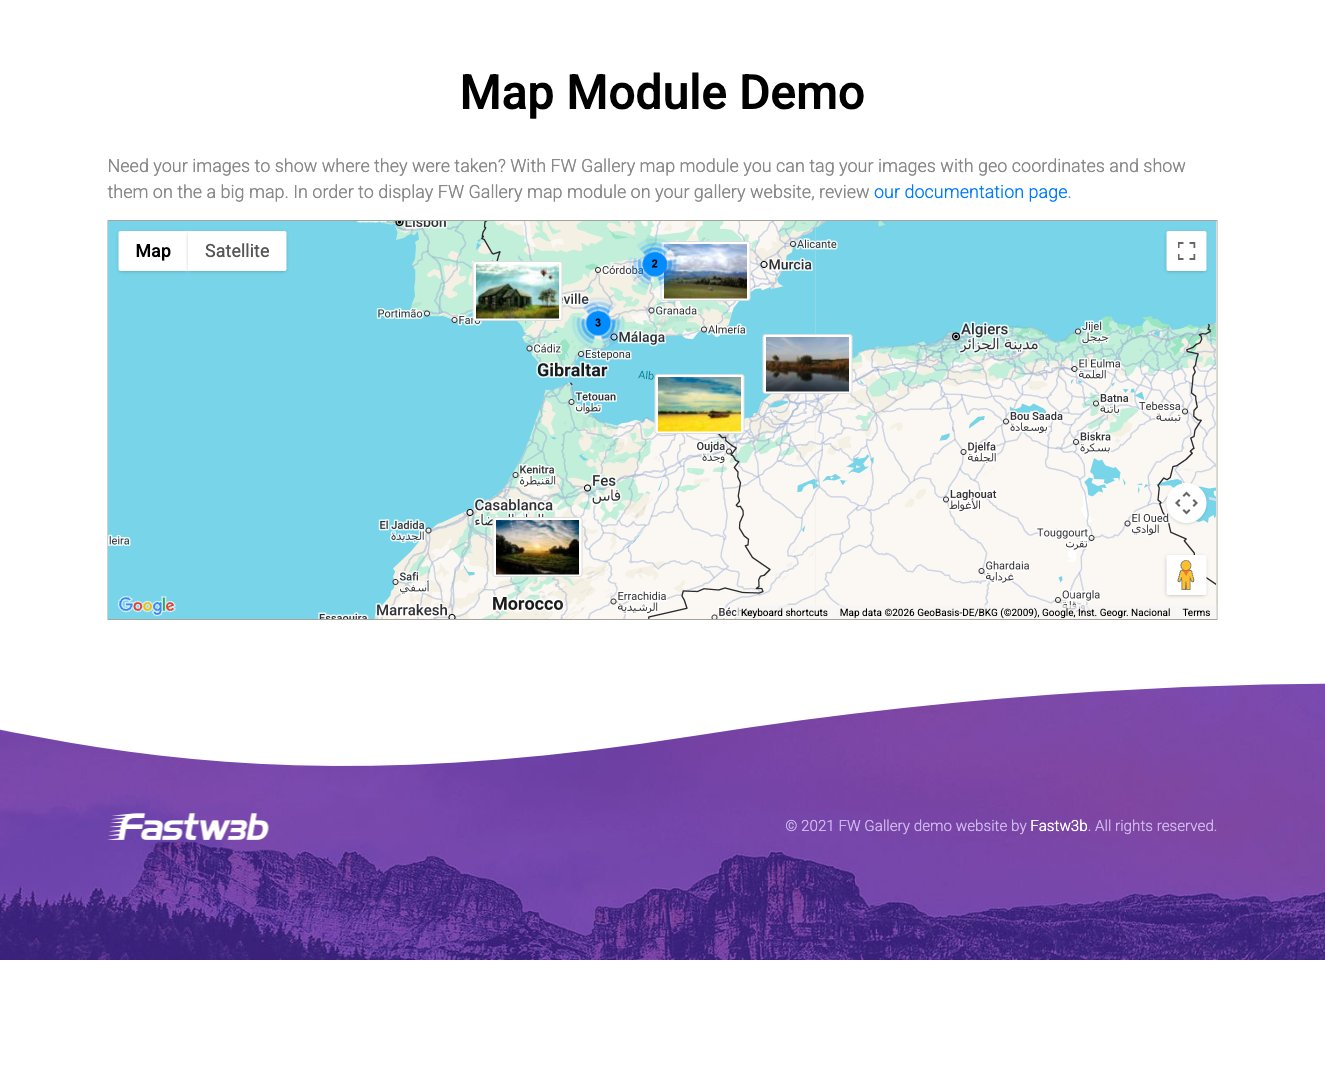
The FWG Map Module (mod_fwg_map) embeds an interactive Google Map on any page of your site, displaying markers for every gallery file that has GPS coordinates assigned. Clicking a marker opens the corresponding file or shows a thumbnail popup directly on the map.
Use Cases
- Location-based galleries — show visitors exactly where each photo was taken on an interactive map.
- Travel blogs — give a geographic overview of a journey with clickable photo markers at each stop.
- Event maps — display venue locations alongside the associated photo sets.
Requirements
- The FWG Map plugin must be installed and active. This plugin adds geo coordinate fields to gallery files and stores the latitude and longitude values that the module reads.
- A valid Google Maps API key with the Maps JavaScript API enabled in Google Cloud Console. Billing must be enabled on the associated Google Cloud project.
Creating a Module Instance
- Go to Extensions → Modules in your Joomla administrator.
- Click New and select FWG Map Module from the module type list.
- Assign the module to a menu item and a template position.
- Configure the parameters described below, then save and publish.
Module Parameters
| Parameter | Description |
|---|---|
| Module class suffix | A CSS class suffix appended to the module wrapper, allowing custom styling. |
| Google Maps API key | Your Google Maps API key. When set here it overrides any key configured at the component level. |
| Map height | Height of the map element in pixels. Defaults to 300 px. |
| Gallery filter | Restrict markers to a single gallery. Leave empty to display markers from all galleries. |
Notes
- Only files that have both a latitude and a longitude value stored will appear as markers on the map. Files without coordinates are ignored.
- The Map plugin and the Map Module work as a pair: the plugin captures and stores coordinates on each file; the module reads those coordinates and renders them on the map.
- If markers are not appearing, confirm that the FWG Map plugin is active and that the Google Maps API key has the Maps JavaScript API enabled with billing active in Google Cloud Console.
To install this addon, open the Add-ons panel inside FW Gallery. See Getting Started → Add-ons for details on free addons, paid addons, and site verification.
Was this article helpful?