Basic Configuration
Basic Configuration
Before your site goes live, work through these five areas in order. Each builds on the previous one.
1. Set Your Default Country and Localization
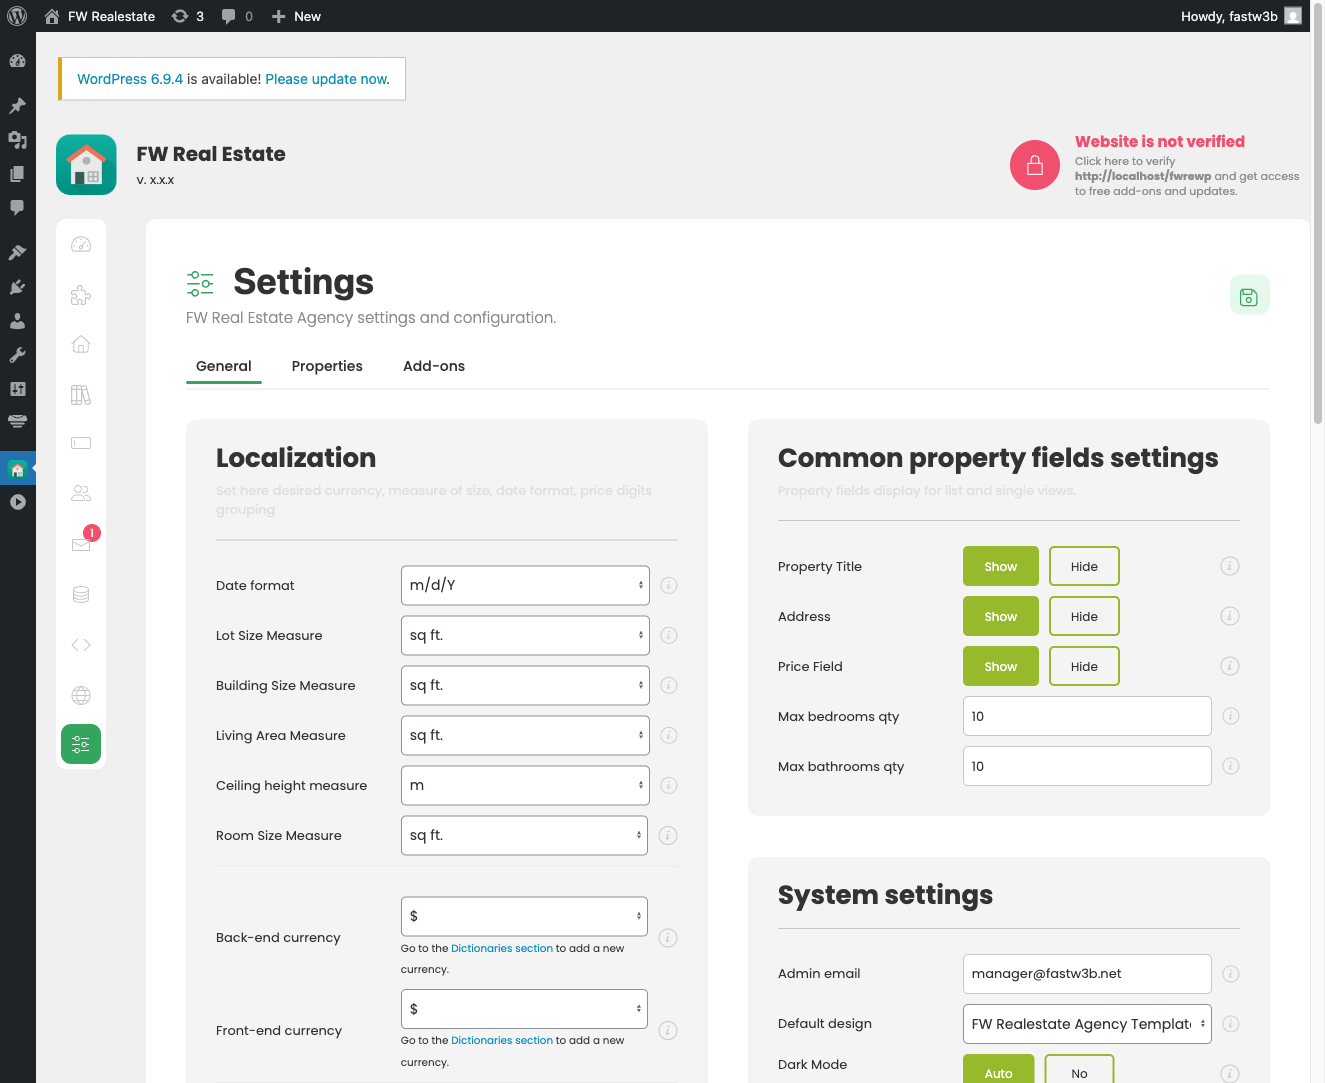
Go to FW Real Estate → Configuration and open the General tab. Under Localization, set the currency symbol, currency position, date format, and digit grouping for each installed language. These settings control how prices and dates appear across the entire front end.
If you run a single currency, enter the symbol and position here. If you need full currency switching, leave these settings and enable the Multi Currency add-on instead — when that add-on is active, the currency fields here are hidden and the add-on takes over.
2. Fill In Your Dictionaries
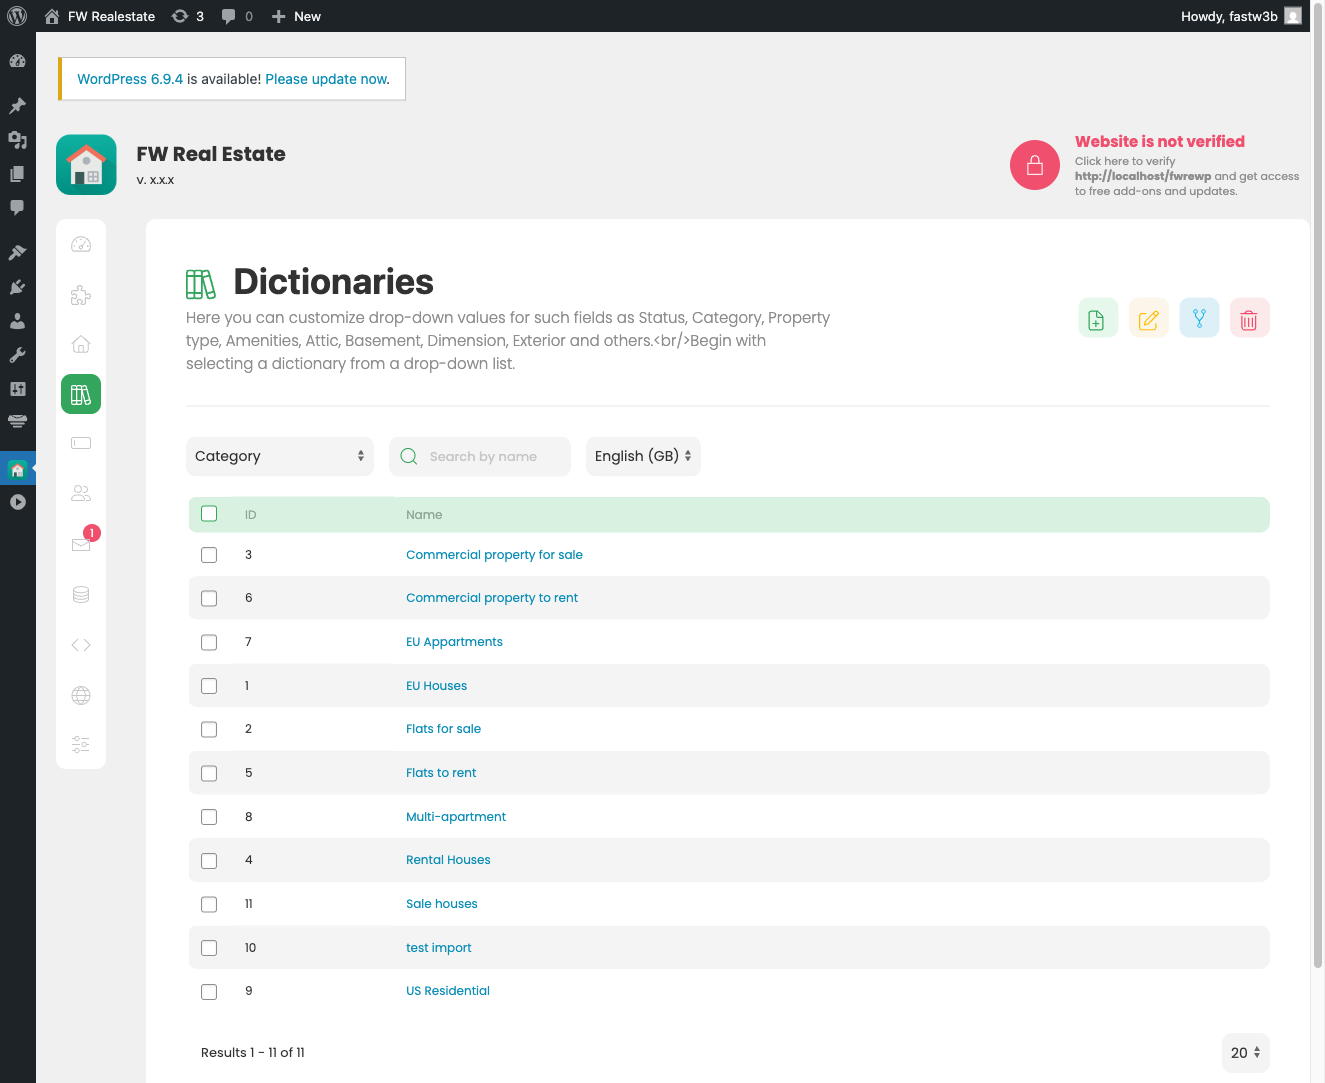
Go to FW Real Estate → Dictionaries. Dictionaries are the value lists that power the property form — types, categories, statuses, countries, regions, cities, and more. The property form cannot be usefully completed until the key lists exist.
Recommended order:
- Add your Countries, then Regions within each country, then Cities within each region. The address fields are a cascade — a city must have a region before it can be created.
- Add your Types (house, apartment, commercial, land, etc.).
- Add your Categories.
- If the Status Labels add-on is enabled, add your Statuses (for sale, sold, under offer, etc.) with colours.
You can add values on the fly from the property form, so you do not have to populate every list before adding your first property — but addresses in particular work better when countries, regions and cities are set up first.
3. Create Your Front-Office Pages
The plugin does not create any pages automatically. You create WordPress pages yourself and place the appropriate block or shortcode on each one. The plugin then finds those pages by scanning for the block or shortcode — you do not register them anywhere.
A typical site needs these pages:
- Properties listing page — add the FW Real Estate — Listing block, or use the shortcode
[fw_real_estate]. - Property detail page — add the same block set to the detail view (or
[fw_real_estate type="item"]). Do not pin it to a specific property ID — it must remain open so every listing card can link to it. - My Account page — add the FW Real Estate — User Section block, or
[fwre_usersection]. Leave the section attribute empty so it acts as the hub for all account sections. - Agents page (if using the Agents add-on) — add the FW Real Estate — Agents block, or
[fwre_agents].
Publish each page. The plugin discovers them automatically and property links resolve correctly. You can rename or move these pages at any time without breaking existing links.
4. Enable the Add-Ons You Want
Go to FW Real Estate → Add-ons. The free add-ons ship inside the plugin and are available immediately — no installation step is needed. Simply toggle on the ones you want to use.
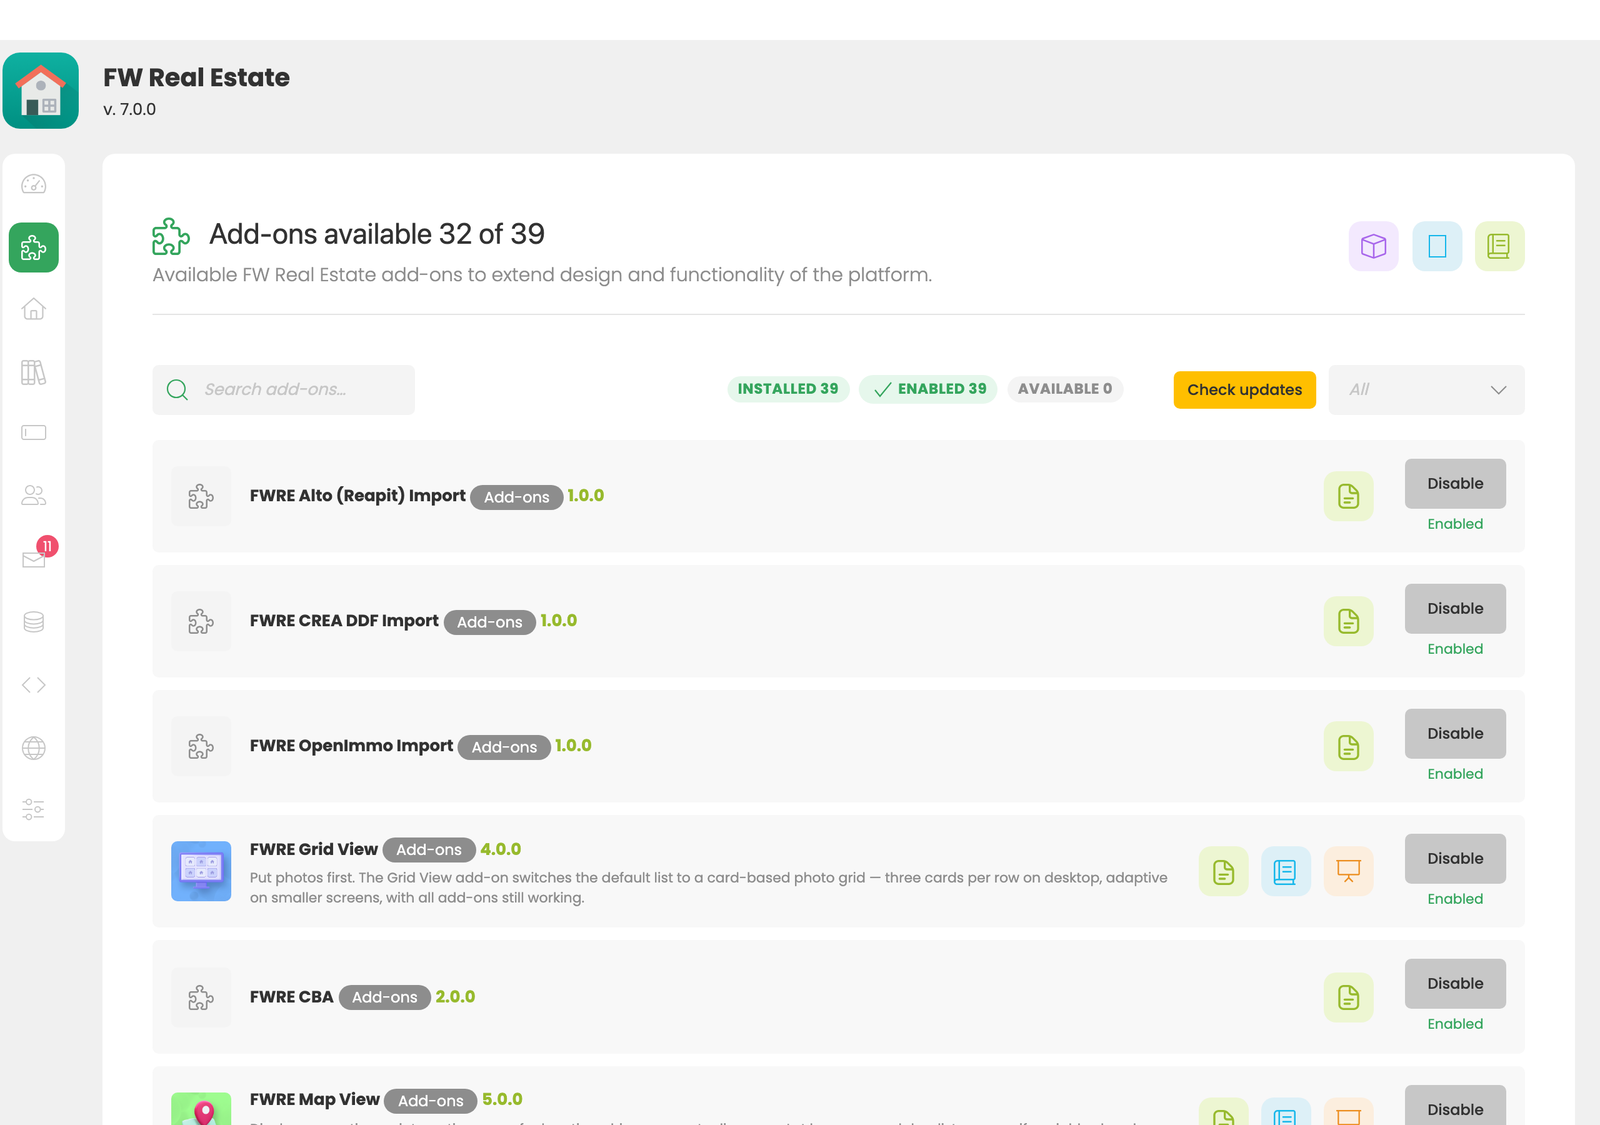
A disabled add-on is genuinely absent — its fields disappear from the property form and its output disappears from the front end. Enabling it again restores everything, including any data that was saved while it was previously active.
Paid add-ons arrive as a separate WordPress plugin (a subscription pack). Install that pack through Plugins → Add New → Upload Plugin, then return to FW Real Estate → Add-ons to switch on the individual add-ons it contains.
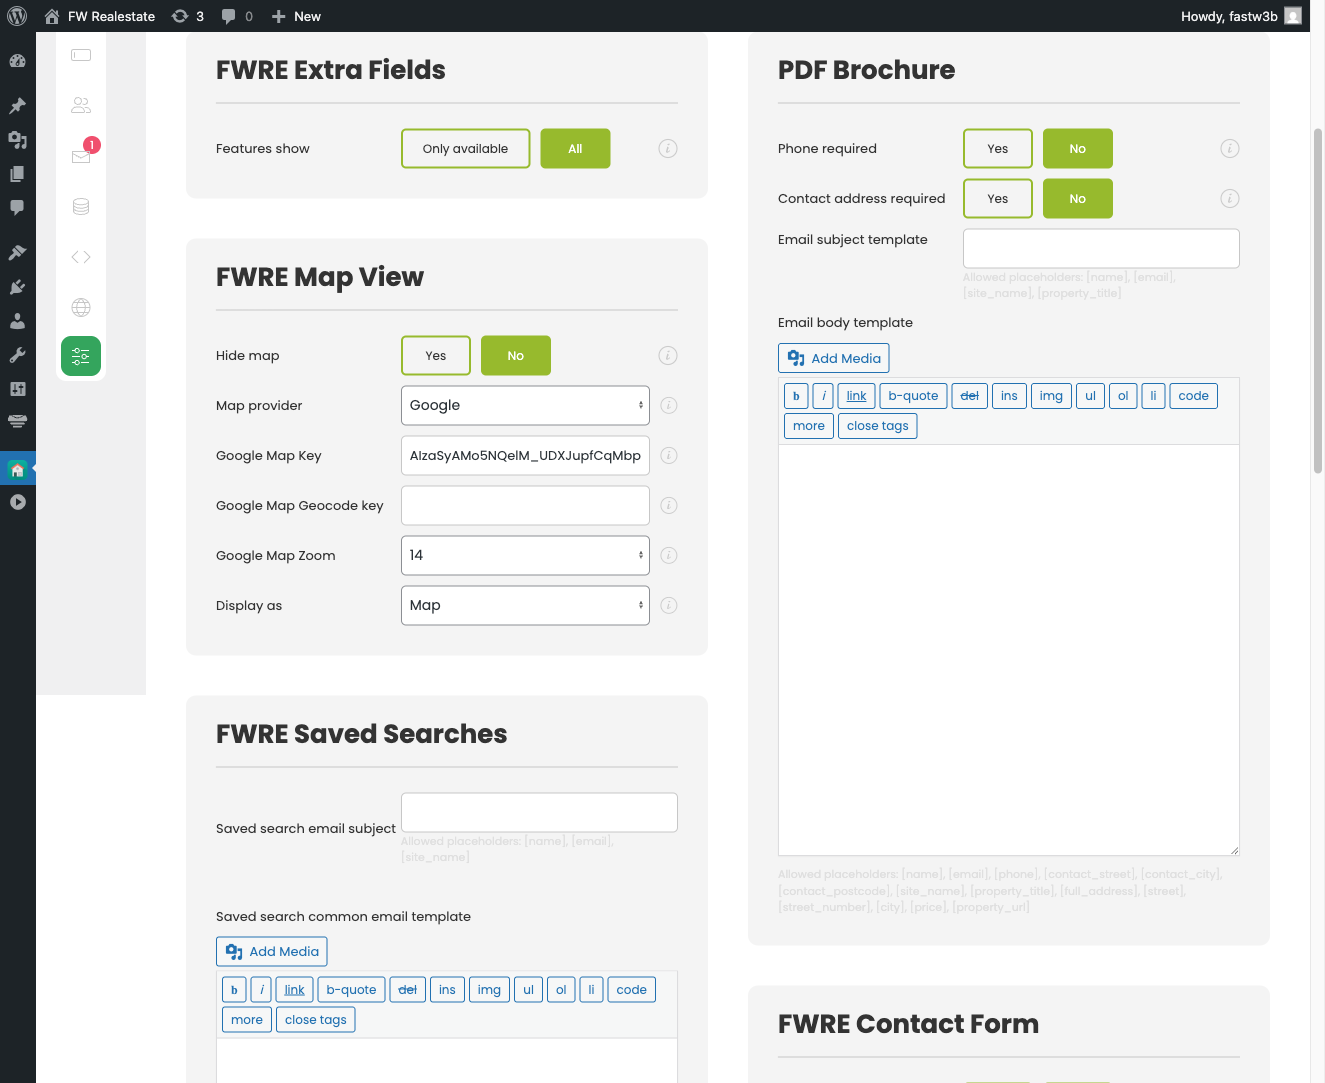
Any add-on that has its own settings will add a card to Configuration → Add-ons while it is enabled.
5. Configure Currency
For a single-currency site, set the Currency sign and Currency position under Configuration → General → Localization and you are done.
For a multi-currency site — where visitors can switch between currencies — enable the Multi Currency add-on from FW Real Estate → Add-ons. Once active, the currency sign and position fields in General settings are hidden, and all currency management moves to the Currencies dictionary under FW Real Estate → Dictionaries.