Watermark
Property photography gets taken. Portals scrape it, competitors reuse it, and a listing you paid a photographer for ends up advertising somebody else's agency. A watermark does not prevent that — it makes it obvious, which is most of the point.
Use Cases
- Protecting commissioned photography. Every reuse carries a visible sign of where the image came from.
- Passive branding. Your agency name travels with every image that is shared or re-posted.
- Portal feeds. Images syndicated to third-party portals still identify your agency.
Settings
Open Configuration → Add-ons → Watermark to configure the stamp.
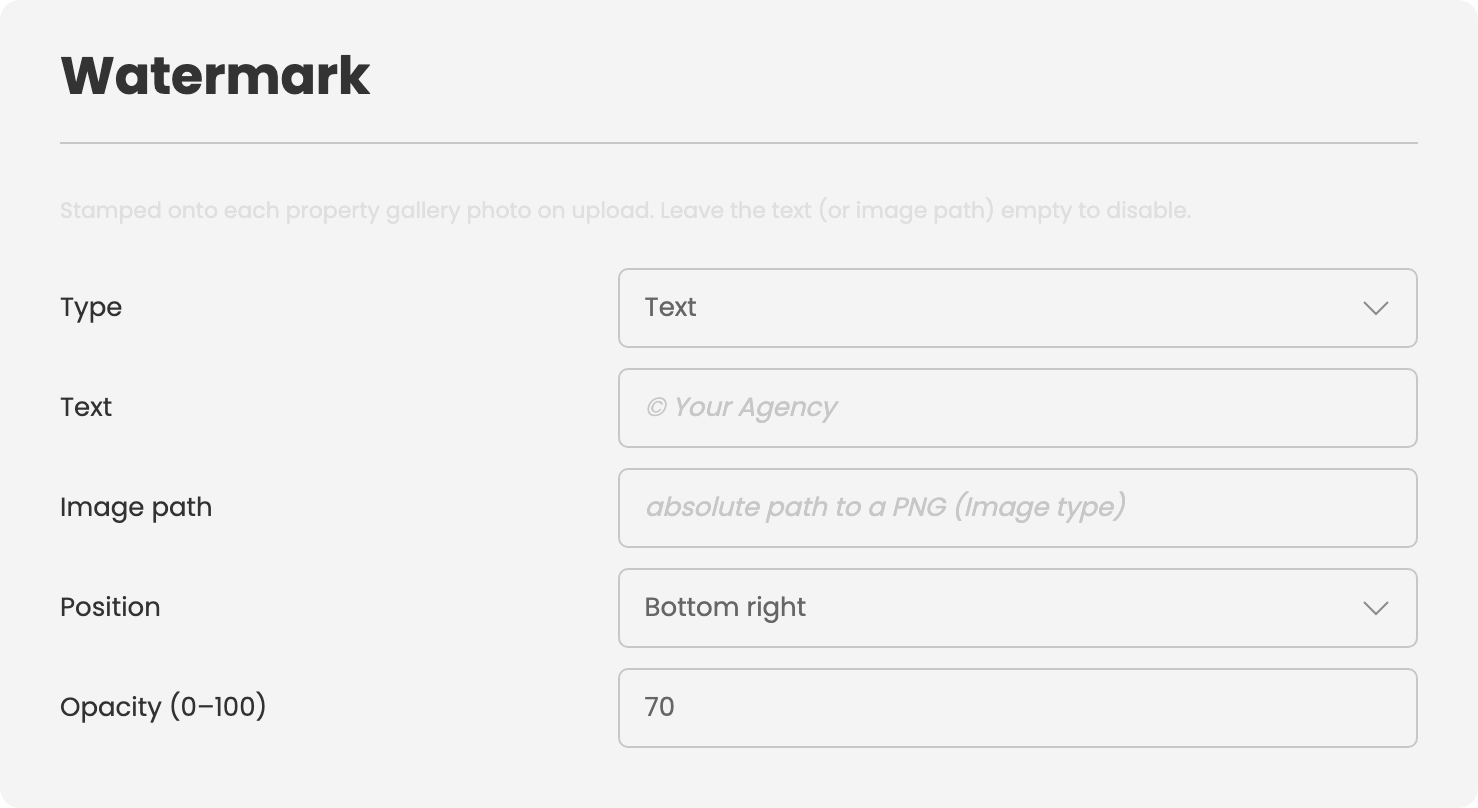
| Setting | Description |
|---|---|
| Type | Choose Text to stamp a line of text, or Image to use your own PNG. |
| Text | The line to stamp when type is Text — for example, © Your Agency. |
| Image path | An absolute server path to a PNG (with transparency) when type is Image. |
| Position | Where the stamp appears: top left, top right, bottom left, bottom right, or centre. |
| Opacity | Stamp strength from 0 to 100. |
Leaving the Text field empty (when type is Text) or the Image path empty (when type is Image) disables the watermark without turning the add-on off.
Important Notes
The stamp is applied on upload and is permanent. It is burned into the stored image rather than overlaid at display time. Changing the settings affects new uploads only — removing a watermark from photos that have already been uploaded means uploading those photos again.
Get the settings right before a bulk import. Because the stamp cannot be undone, finalise your configuration before importing a large set of property photos.
Opacity is the whole craft. Too faint and the watermark is cropped out in seconds. Too strong and it spoils the photograph you paid for, which costs more in lost enquiries than the theft ever would. Somewhere around a third opacity is usually where the stamp stops being ignorable without becoming intolerable.
A corner is safer than the centre. Centre position survives cropping best but ruins the image most. On a property photo, a bottom corner is the usual compromise — visible enough to matter, unobtrusive enough not to put buyers off.
To install this addon, open the Add-ons panel inside FW Real Estate. See Getting Started → Add-ons for details on free addons, paid addons, and site verification.