Quick Start Guide
Quick Start Guide
Four steps take you from a freshly activated plugin to a working property website. None of them are optional — skip one and something on the front end will not work.
Step 1 — Connect Your Website
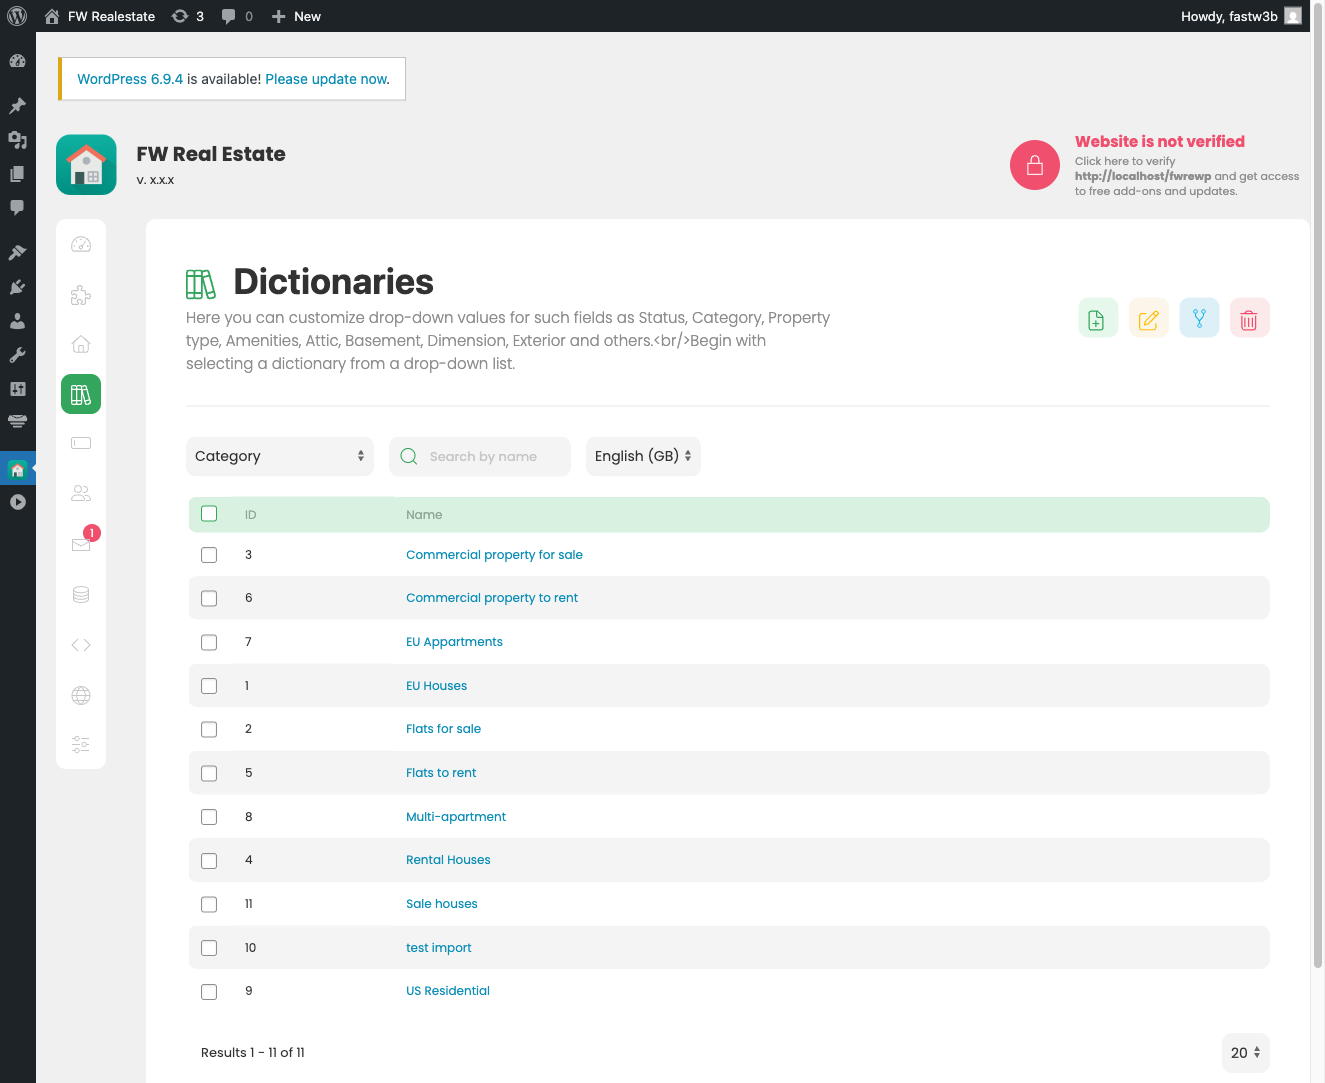
After activation, the FW Real Estate admin header shows a verification banner. Click Connect. You are redirected to your fastw3b.com client section, which registers this domain and sends you straight back — the key is applied automatically. There is nothing to copy or paste.
Once connected, the header shows your account name, the verified domain, your subscription state and your support state. On WordPress, connecting does not fetch or install anything. What it unlocks is:
- Pack updates — your subscription pack shows the standard WordPress "Update available" notice on the Plugins screen.
- The add-on catalogue — the Add-ons screen can show what exists and which subscription carries each item.
- Support tickets, if your subscription includes support.
Step 2 — Enable the Add-ons You Need
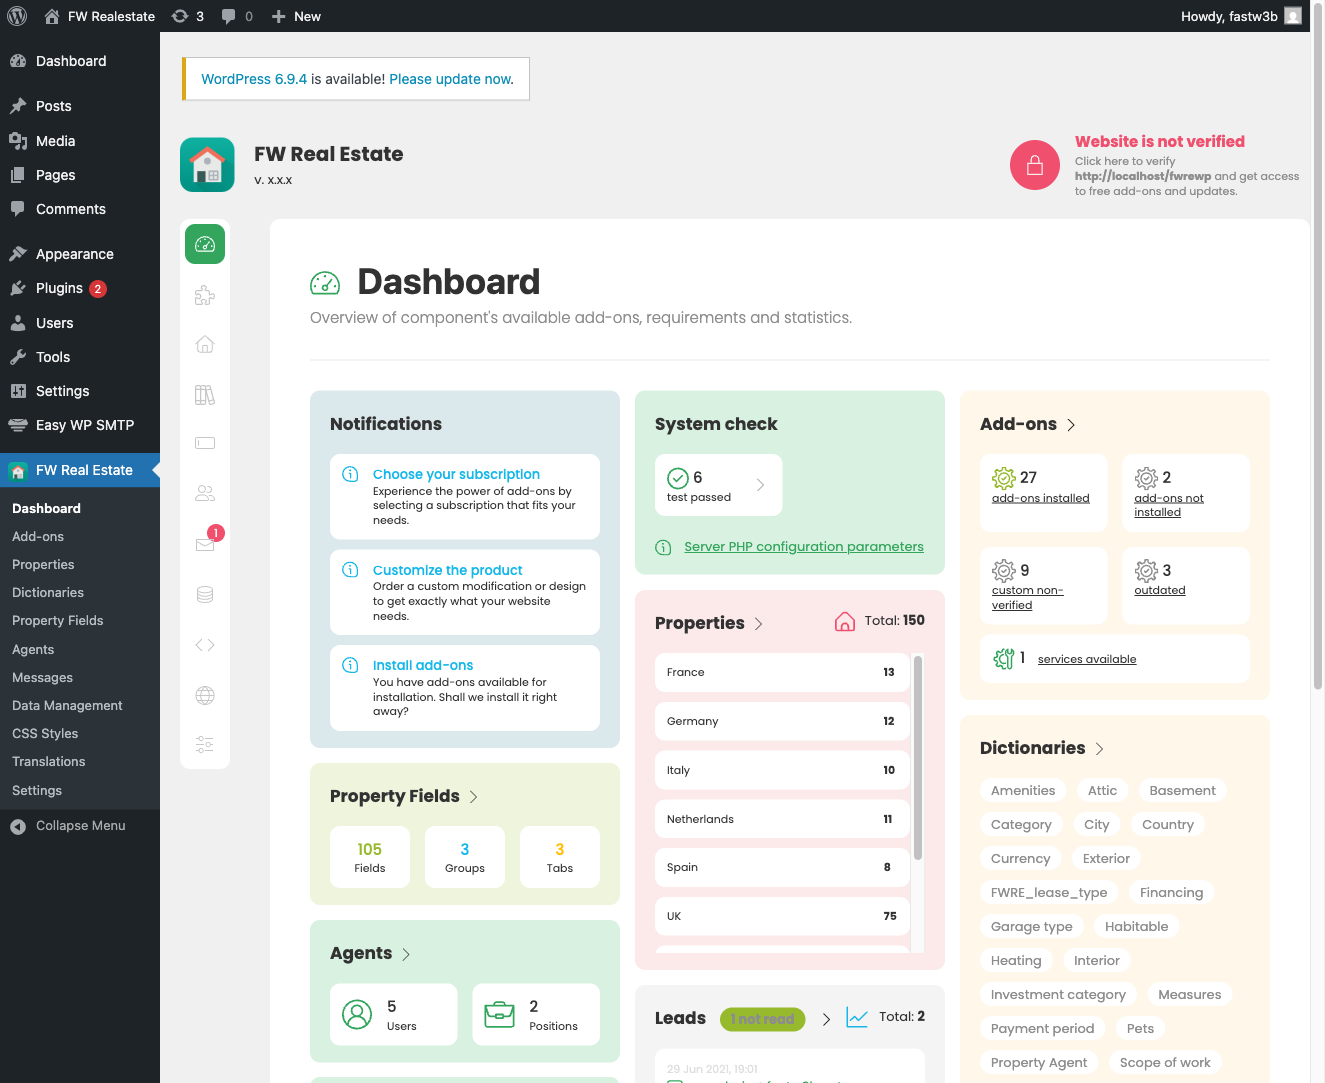
Go to FW Real Estate → Add-ons. The free add-ons ship inside the plugin and are already listed — switch any of them on or off here. A disabled add-on is genuinely absent: its fields disappear from the property form and its output disappears from the front end. Its stored data is kept, so re-enabling it restores everything.
If you have bought a subscription, your paid add-ons come as a single WordPress plugin — a pack. Download it from your fastw3b.com client area, then install it the ordinary way: Plugins → Add New → Upload Plugin. The pack appears as its own row in the WordPress Plugins screen. The individual add-ons it carries do not appear there — manage them from the Add-ons screen as usual.
Step 3 — Create the Front-Office Pages
The plugin does not create any pages automatically. You create them in WordPress and place the appropriate block or shortcode on each. The plugin finds the pages by looking for that block or shortcode — nothing needs to be registered.
- Properties page — add the FW Real Estate — Listing block, or the shortcode
[fw_real_estate]. This page shows the search form and the property listing. - Property page — add the same block set to type = item with no fixed property, or the shortcode
[fw_real_estate type="item"]. Every listing card links here for the detail view. - My Account page (optional) — add the FW Real Estate — User Section block, or
[fwre_usersection]. This hosts favourites, saved searches, comparison and the agent's property manager. - Agents page (optional) — add the FW Real Estate — Agents block, or
[fwre_agents]. Requires the Agents add-on to be enabled.
You can rename or move these pages freely — property links keep working because the plugin re-discovers them by their content, not by a stored page ID.
Step 4 — Add Your First Property
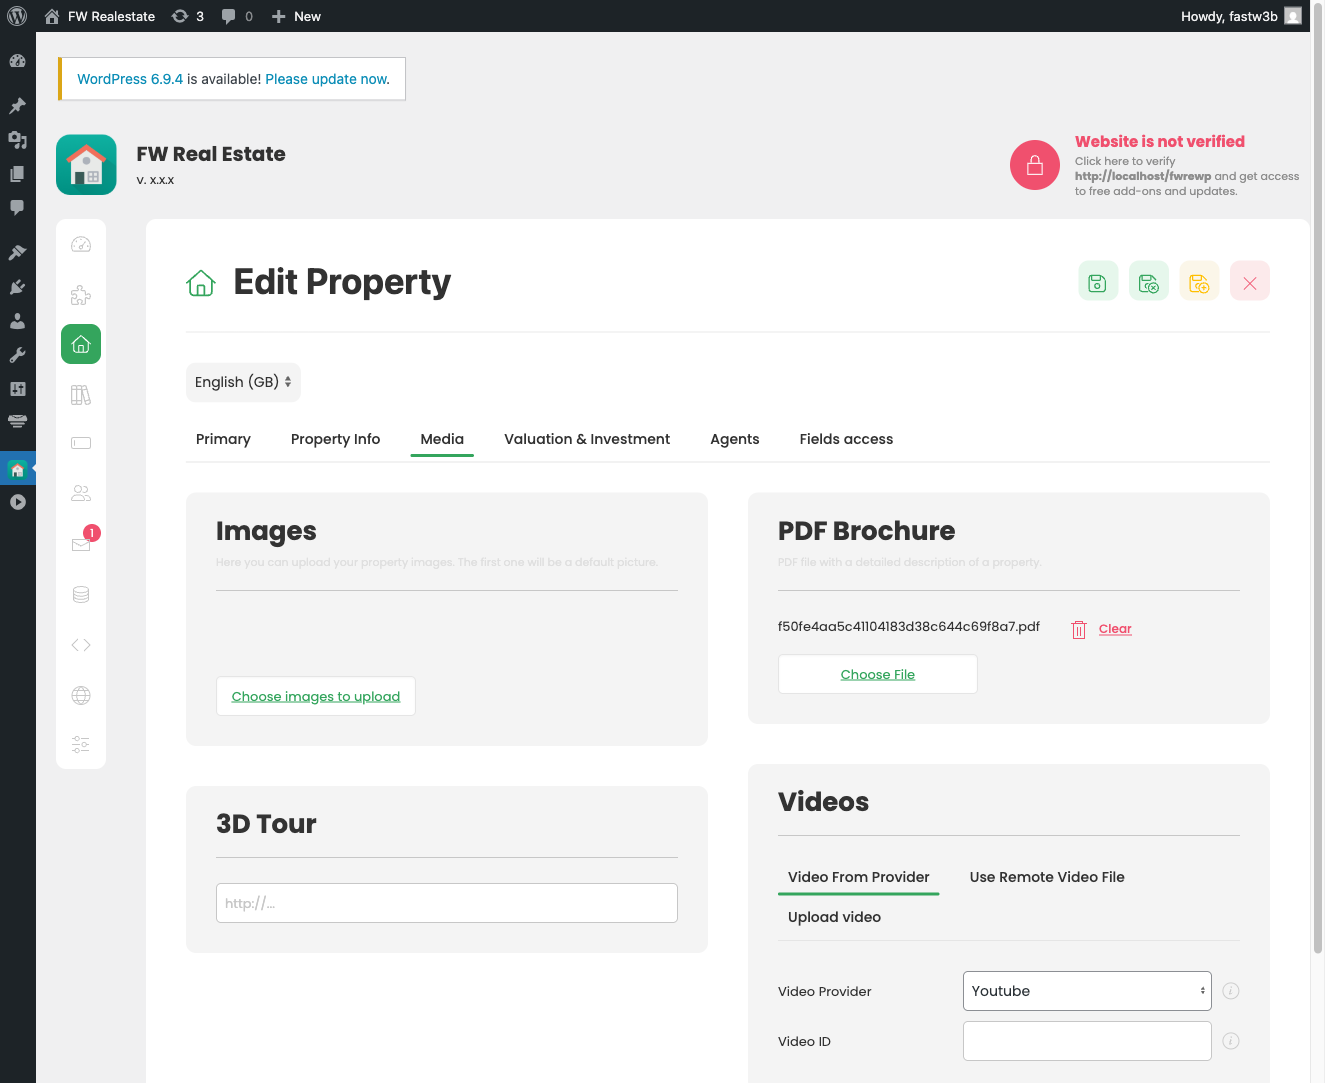
Go to FW Real Estate → Properties → New. The form is organised in tabs.
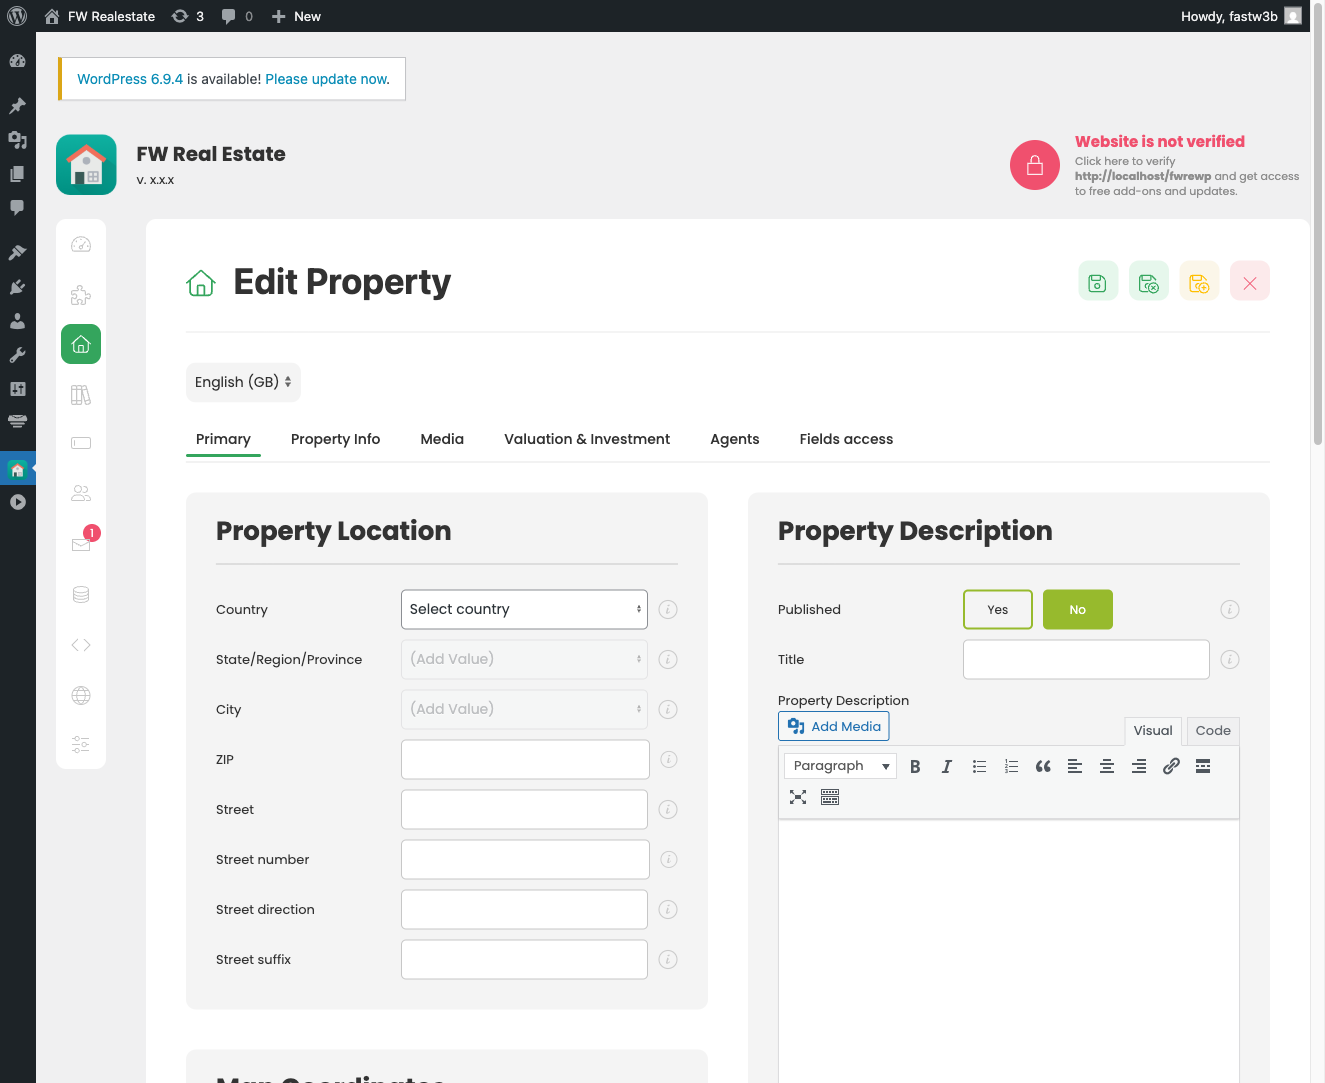
- The Primary tab holds the title, description, address fields and price.
- The Property Info tab holds bedrooms, bathrooms, property type, category and the inquiry-recipient email address. Fill in the email field if you are not using the Agents add-on — the inquiry form only appears on the front end when there is someone to send to.
- The Media tab holds the photo gallery.
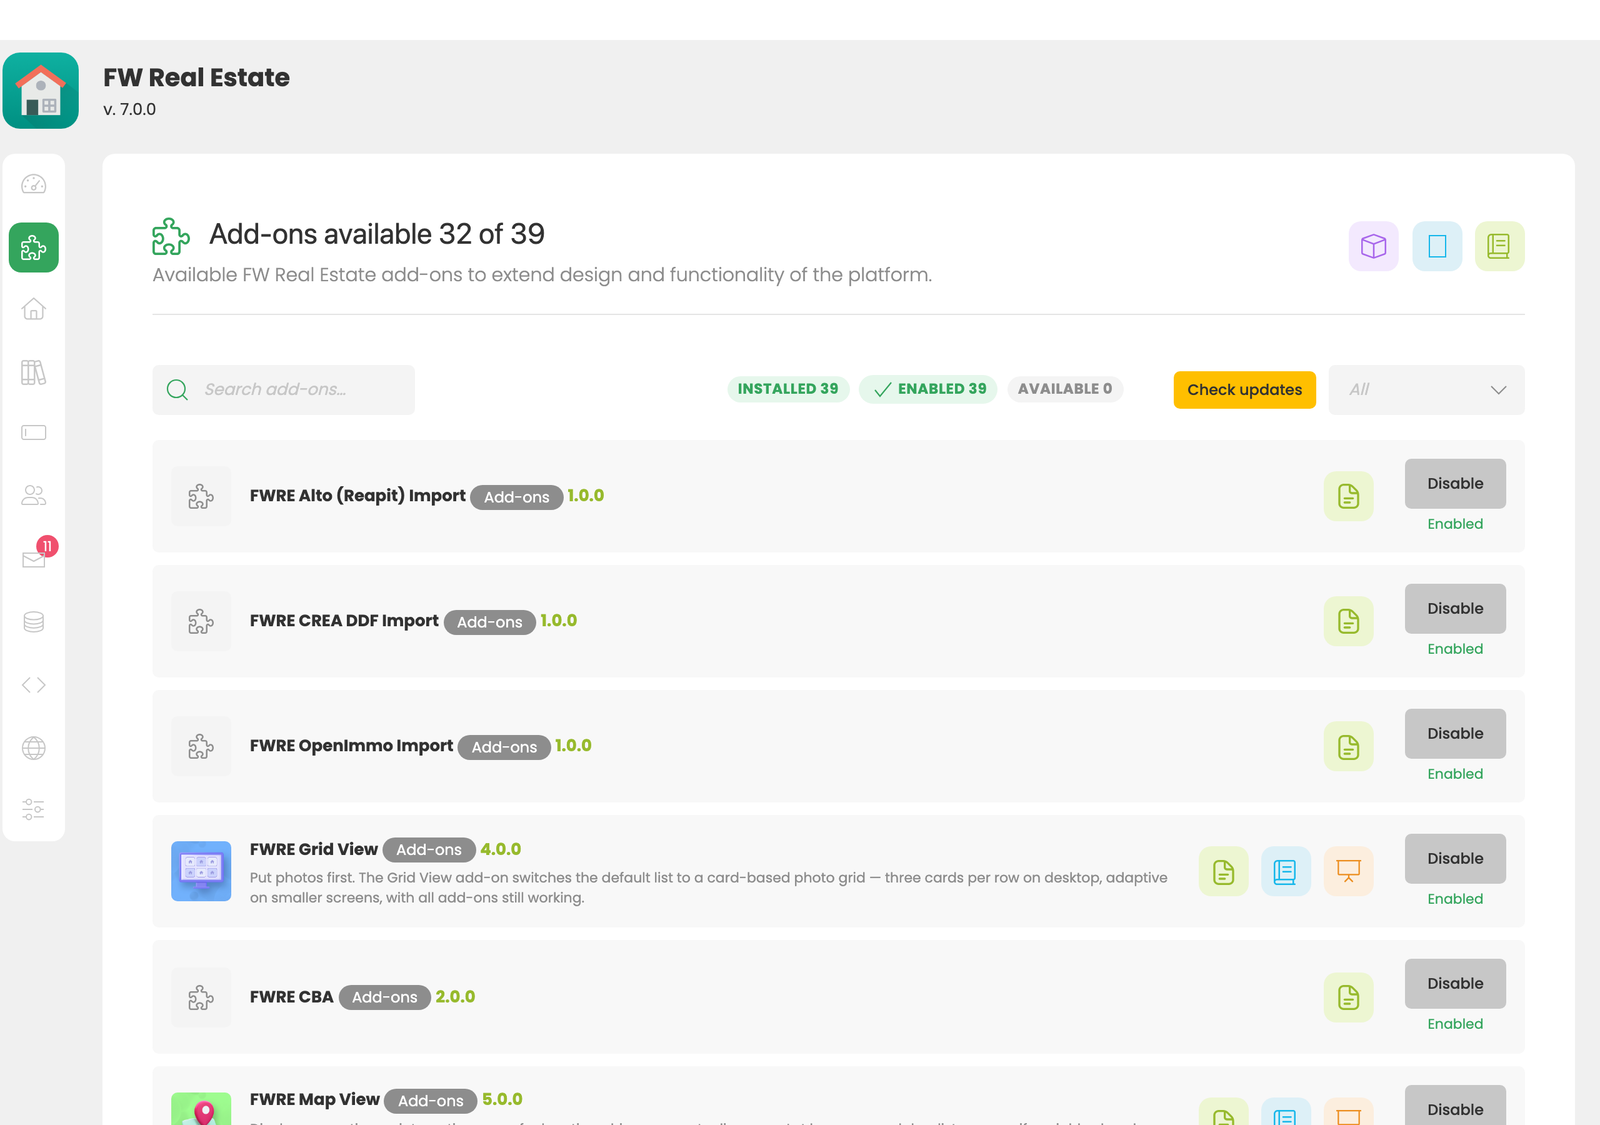
Save and publish. Visit your Properties page to confirm the listing appears. If the address fields feel empty, set up your countries, regions and cities first in FW Real Estate → Dictionaries — the address cascade requires a region before a city can be added to it.